Wii Preparation
Identify the Wii’s Revision
There are several revisions of the Nintendo Wii motherboard, but for this guide, only one difference really matters: the type of processor the board uses. To build a portable Wii that runs cool and uses less power, a motherboard with the Hollywood-1 SoC (System on Chip) is required. These are often called “4-layer Wiis” because the Hollywood-1 is always paired with a 4-layer PCB as opposed to the older revision’s 6-layer PCB.
The following motherboard revisions will always be a 4-layers:
RVL-CPU-40RVL-CPU-50RVL-CPU-60RVK-CPU-01RVK-CPU-02
How to Find a 4-Layer Wii
- Colored Wiis (Black, Blue, or Red): Always 4-layer with Hollywood-1 or newer.
- White Wiis: Could be 4-layer or 6-layer, depending on when they were made.
To confirm the revision without opening the Wii, go to the Wii Revision Checker and enter the Wii’s serial number.
Wii Mini Compatibility
The Wii Mini (RVO-CPU-01 and RVO-CPU-10) has a different board layout, and is not supported by the Xii-Boy Ultra.
Want to Learn More About Wii Revisions?
To learn more about all the different Wii board versions, check out the Wiki page by Rare Gaming Dump.
Software Preparation
SoftMod the Wii
Before proceeding, the Wii must be "softmodded" with the Homebrew Channel. The definitive guide for this can be found at Wii Hacks Guide. After the Homebrew Channel is installed, proceed with the instructions for Installing RVLoader.
Install RVLoader
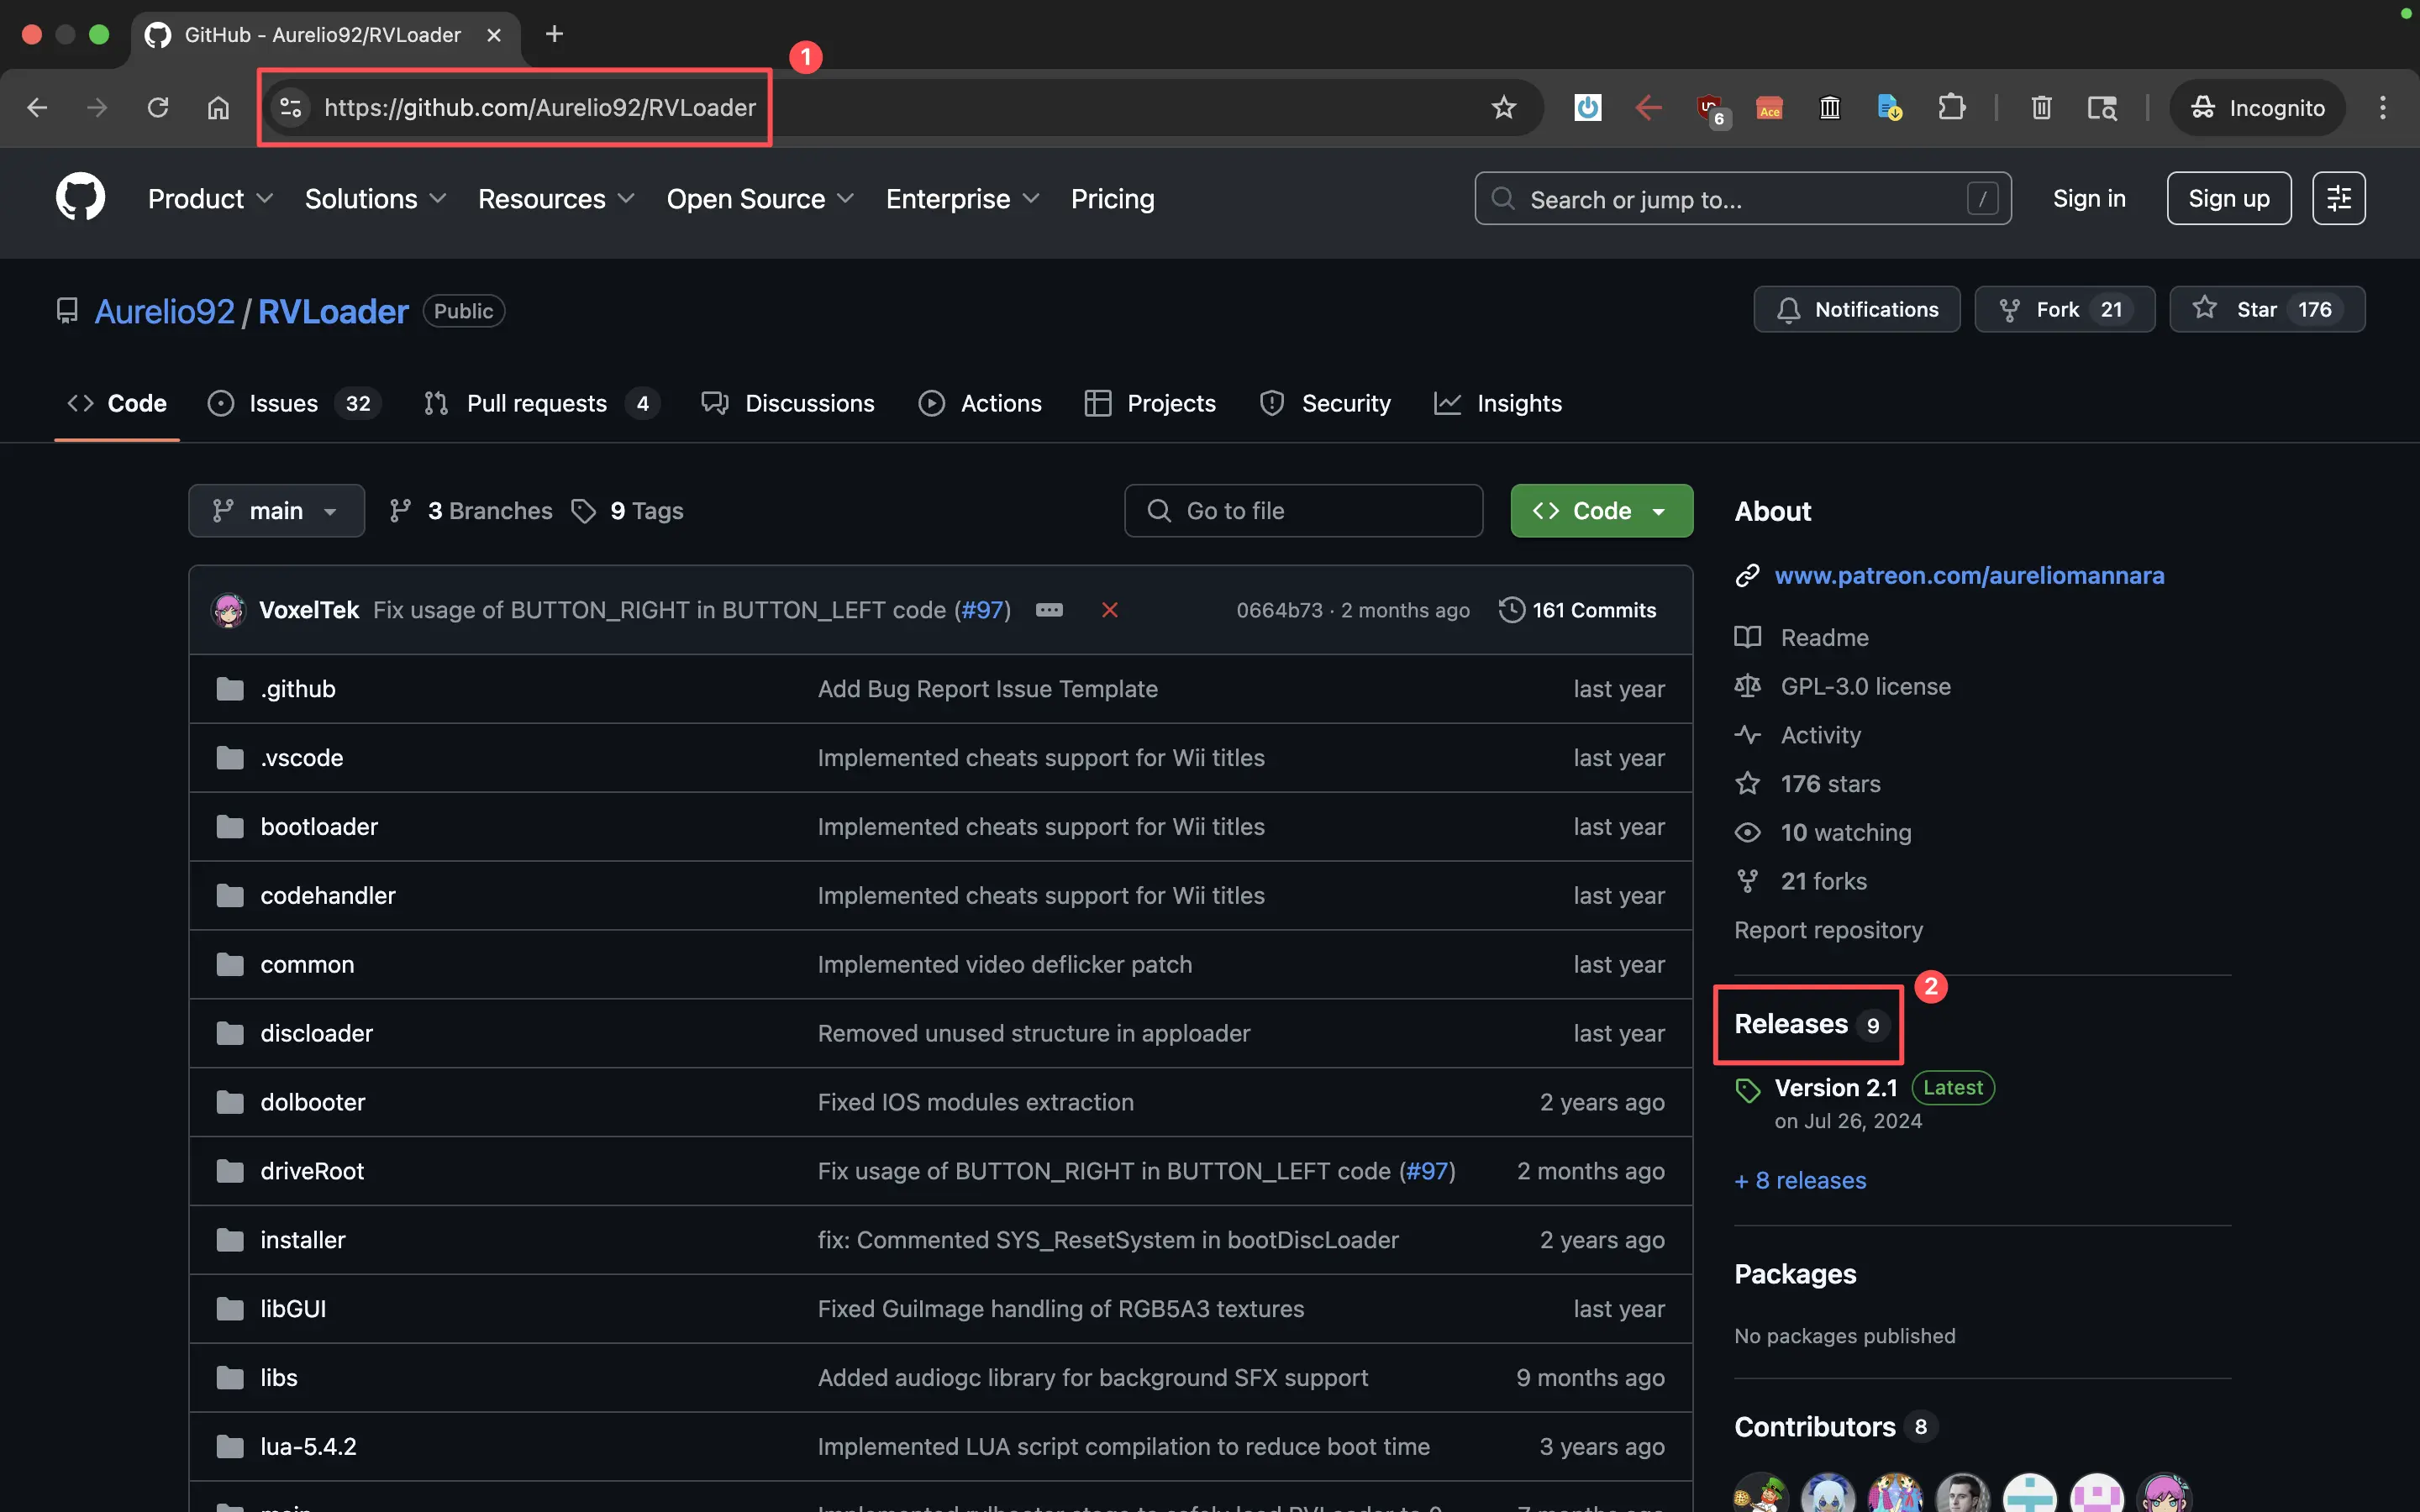
Navigate to the RVLoader GitHub page on a computer.
Select the
Releasesbutton on the right side of the screen.
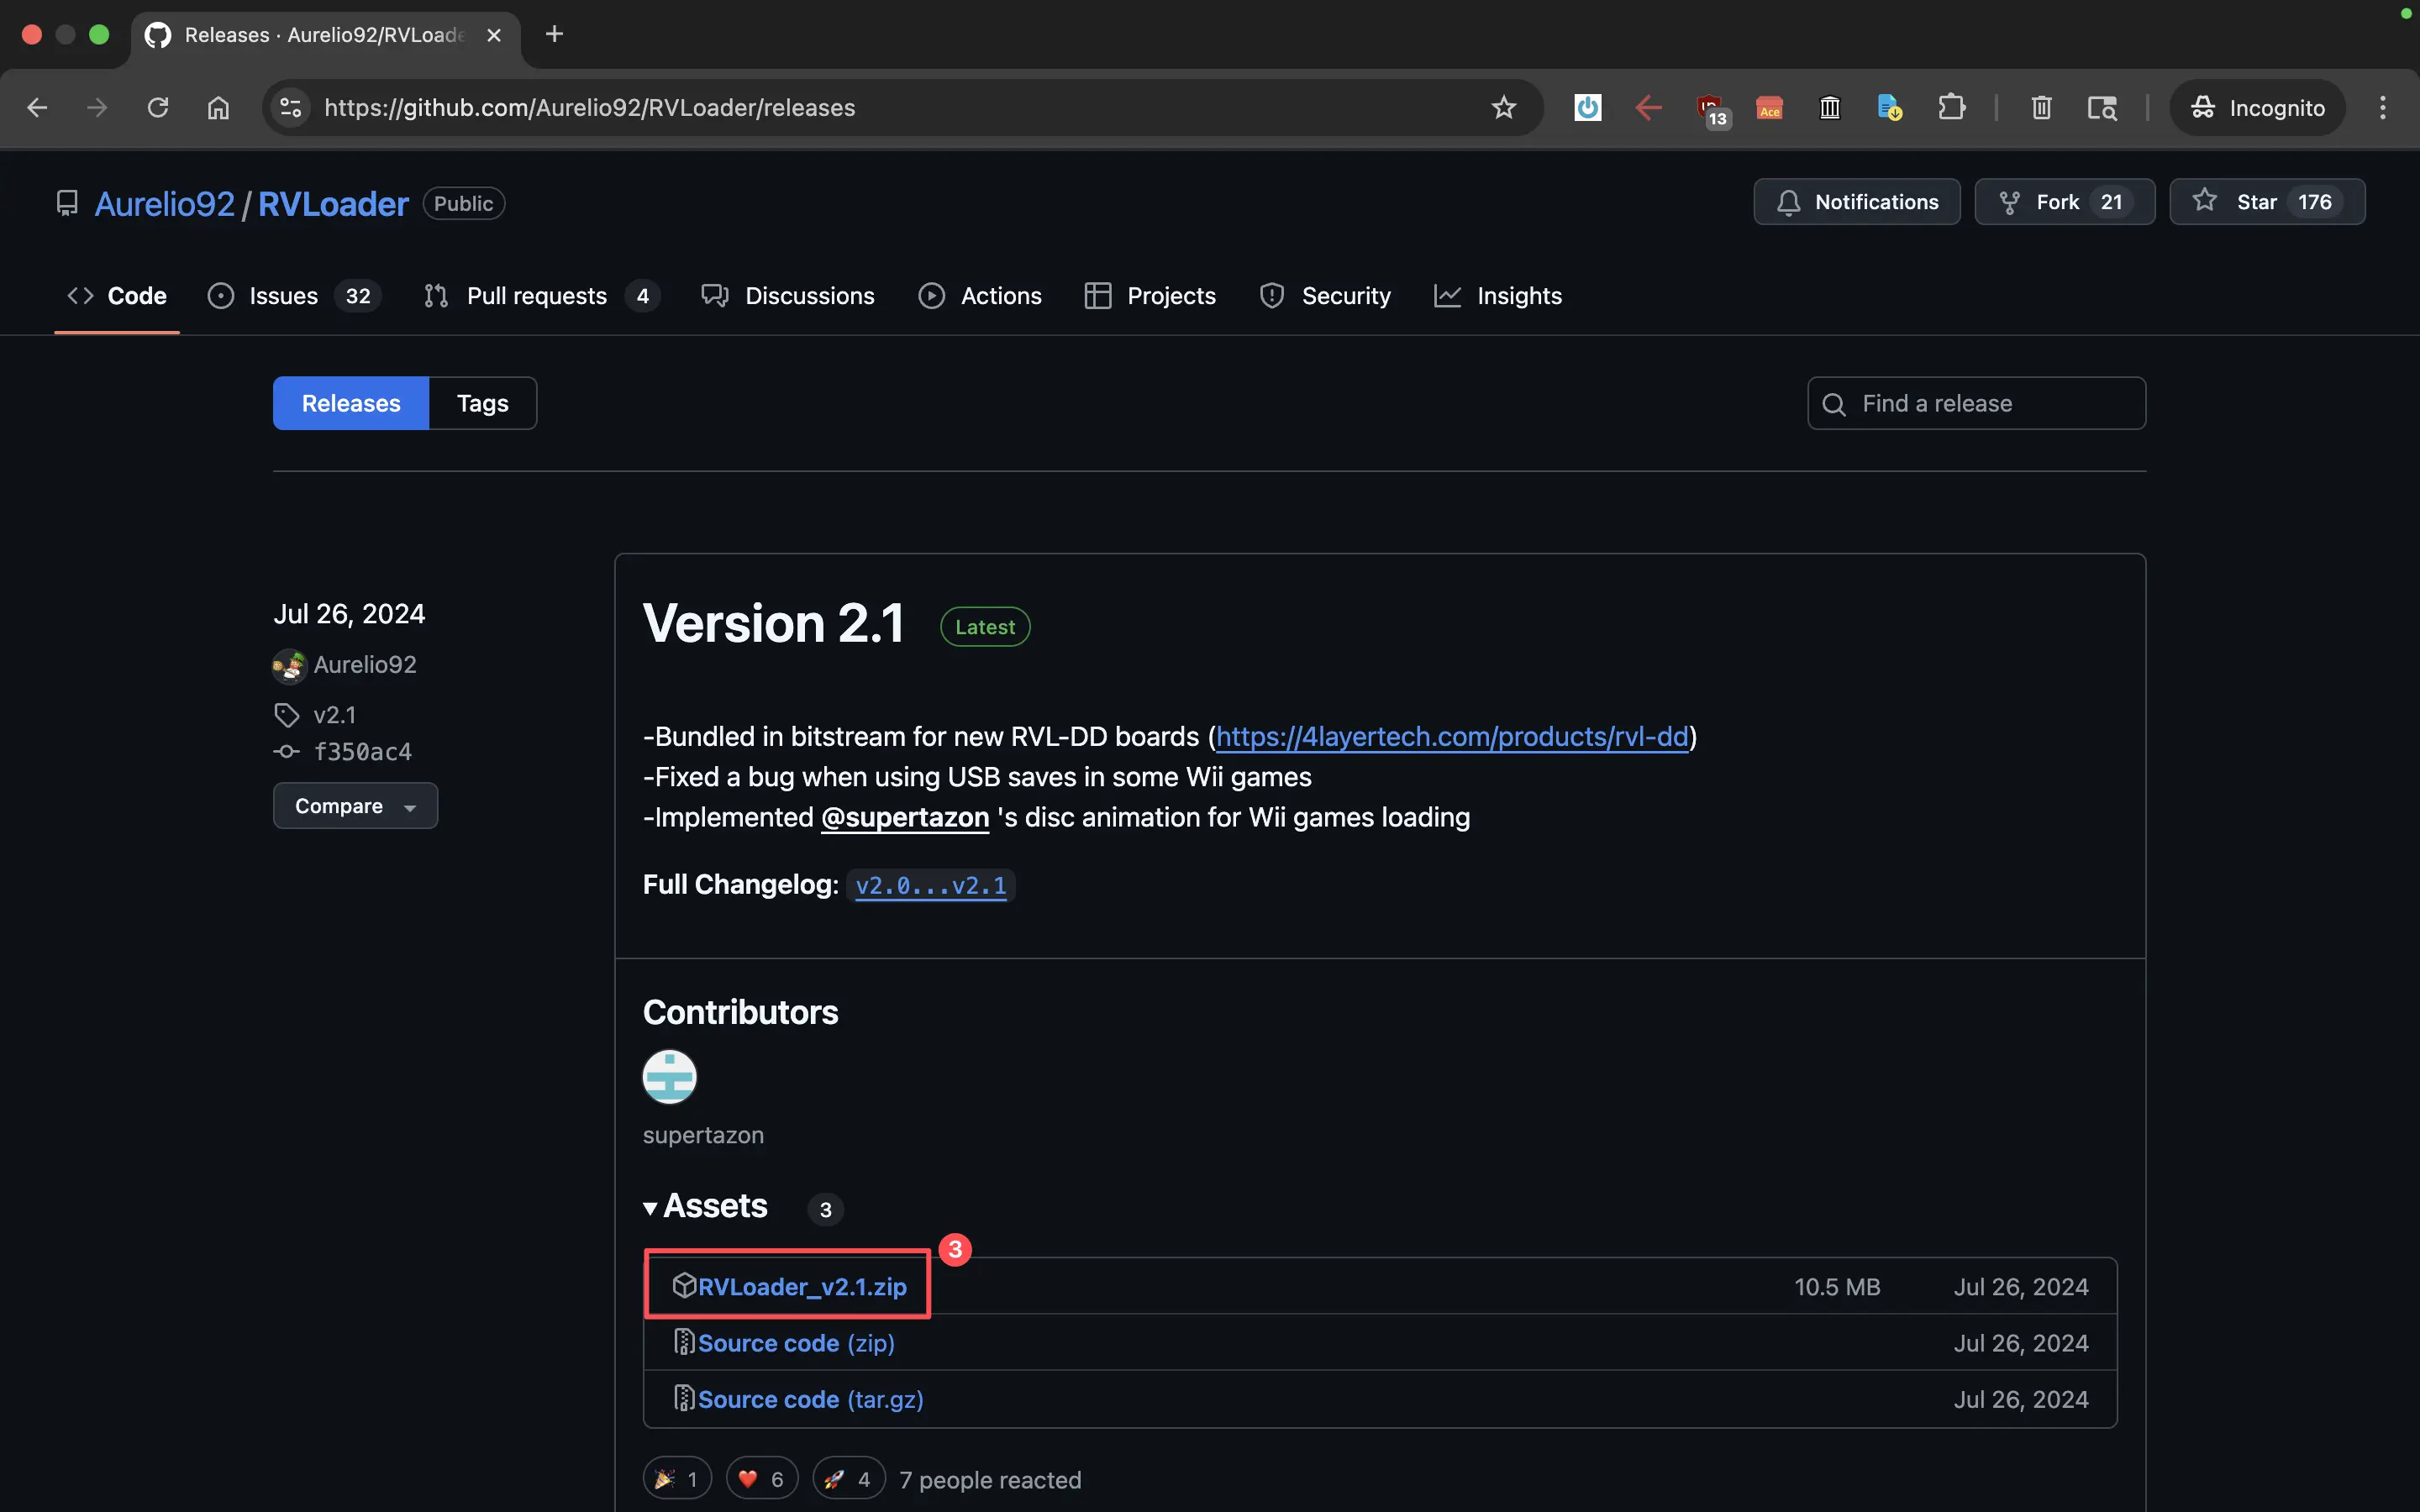
- Select the
.zipfile of the latest RVLoader release.
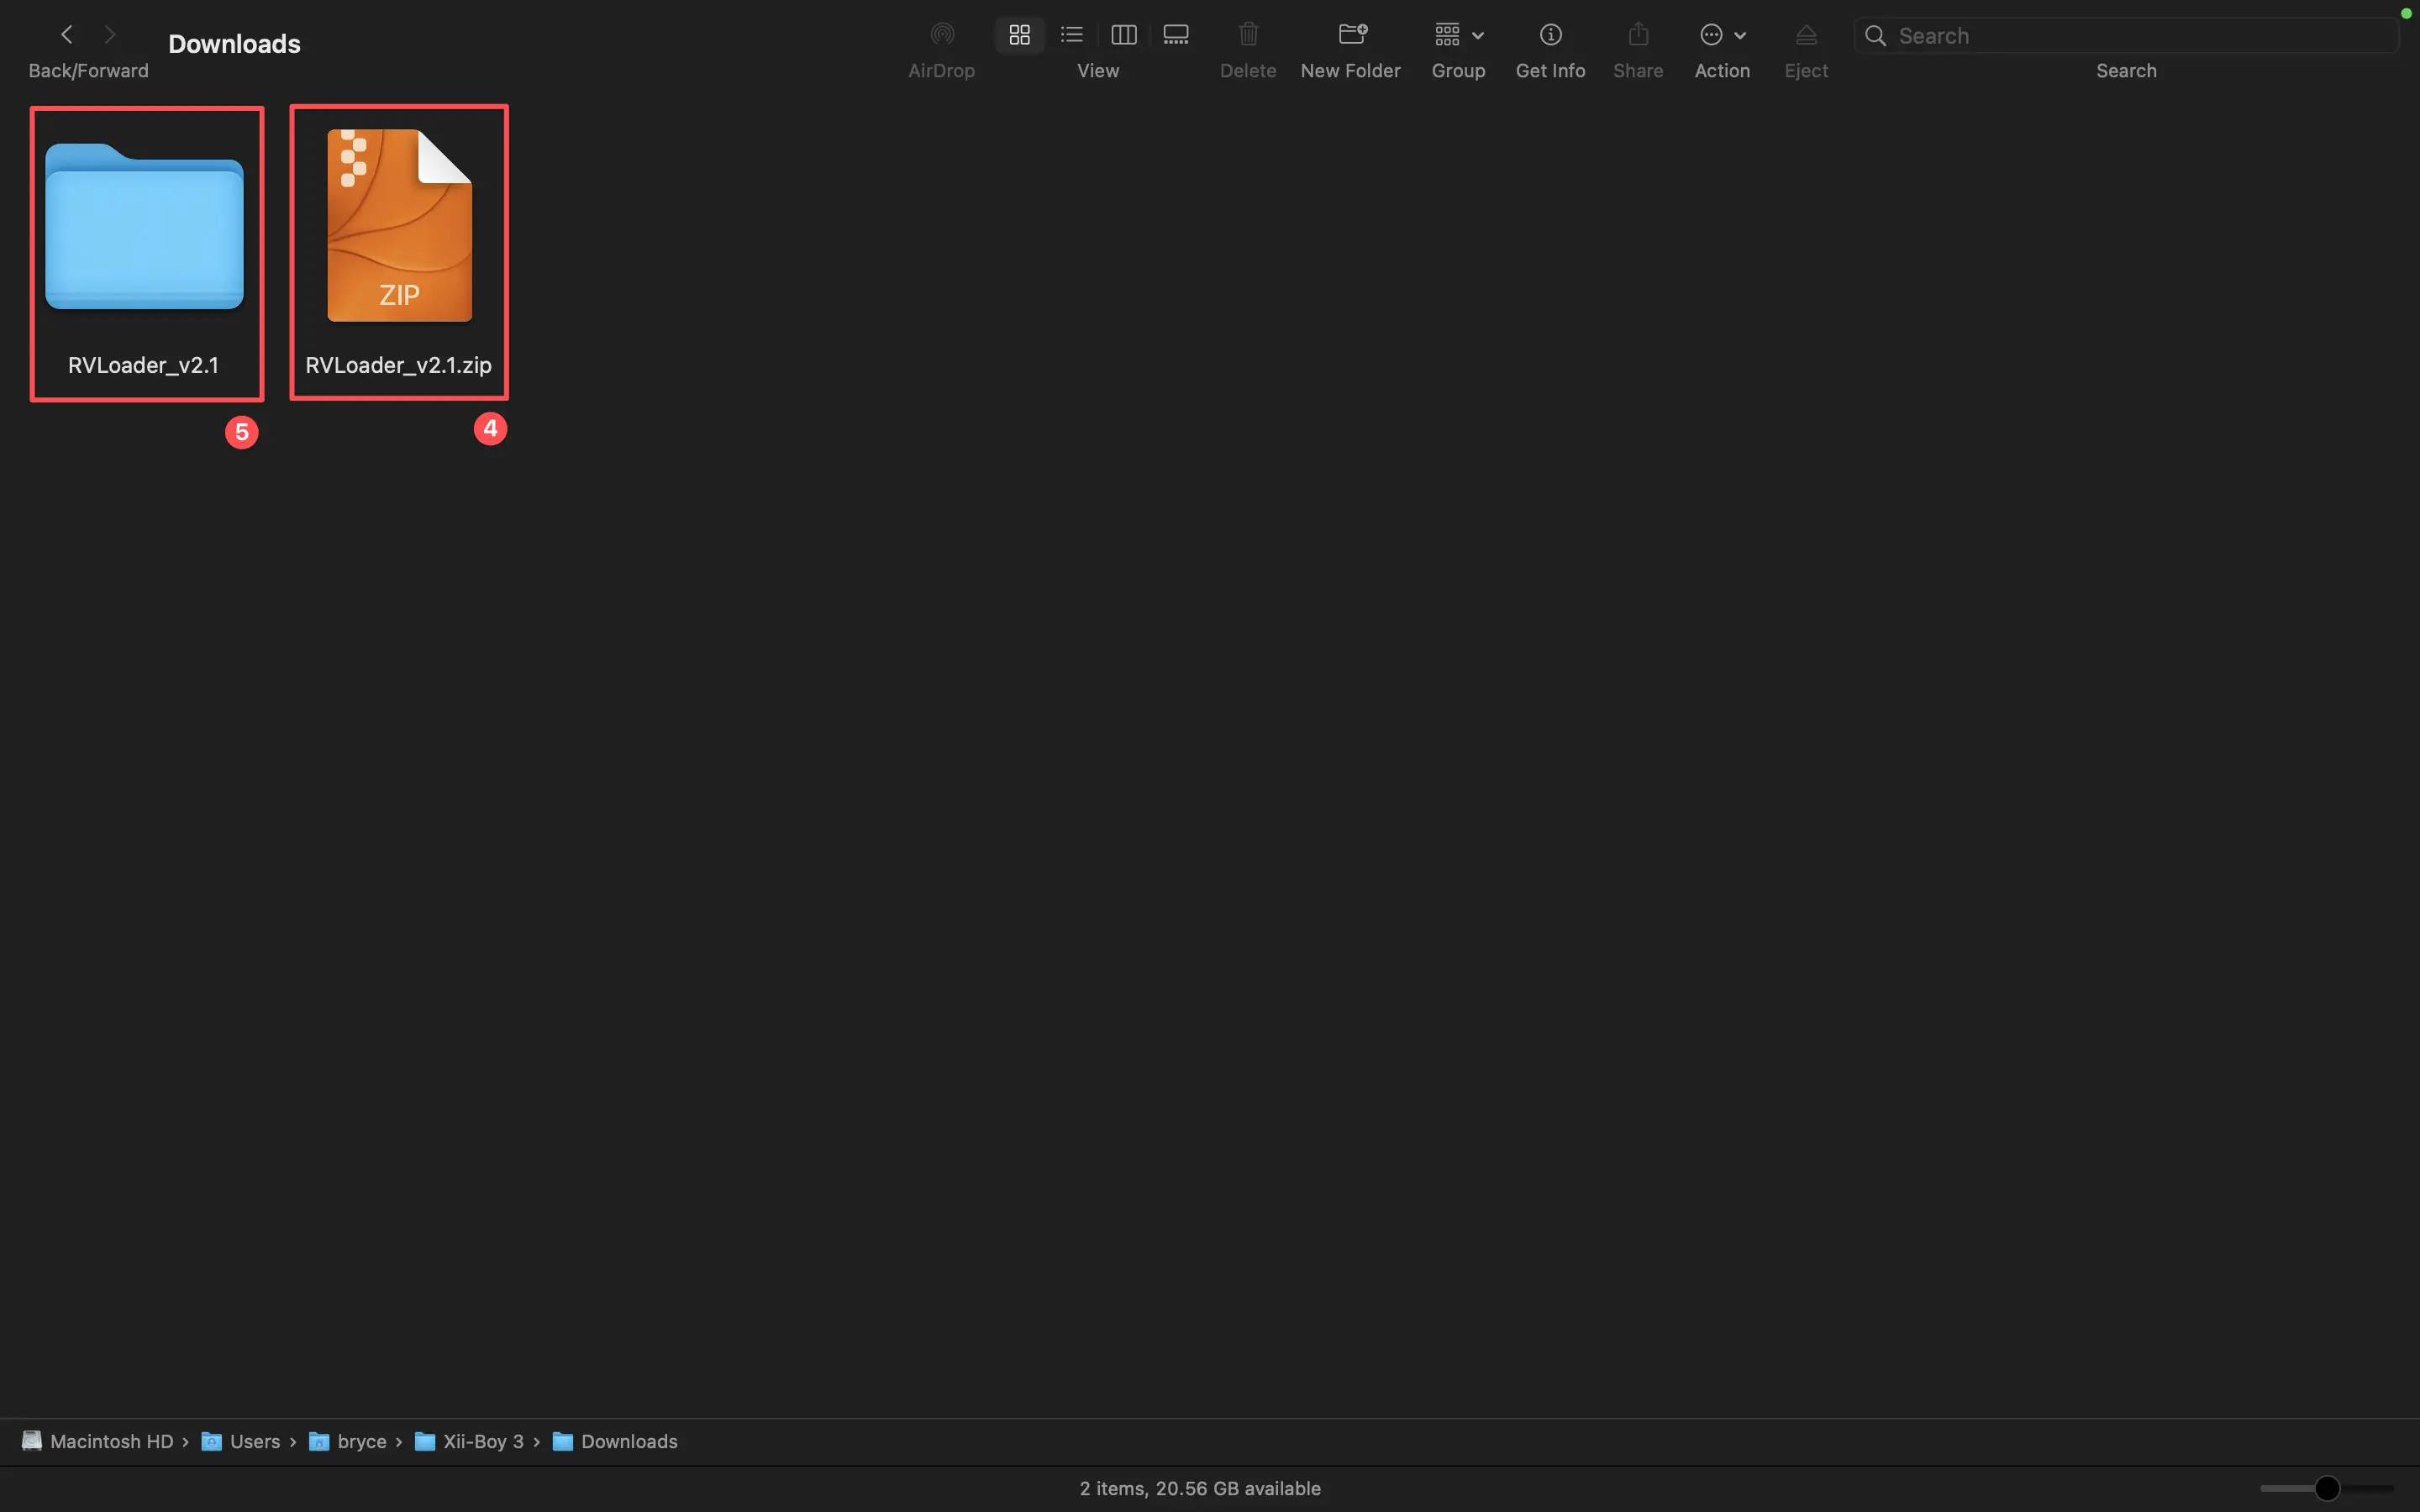
Navigate to the computer’s downloads folder (Finder on MacOS, File Explorer on Windows) and double-click the
.ziparchive to extract it.A folder will be created with the same name, without the
.zipextension. Open this folder.
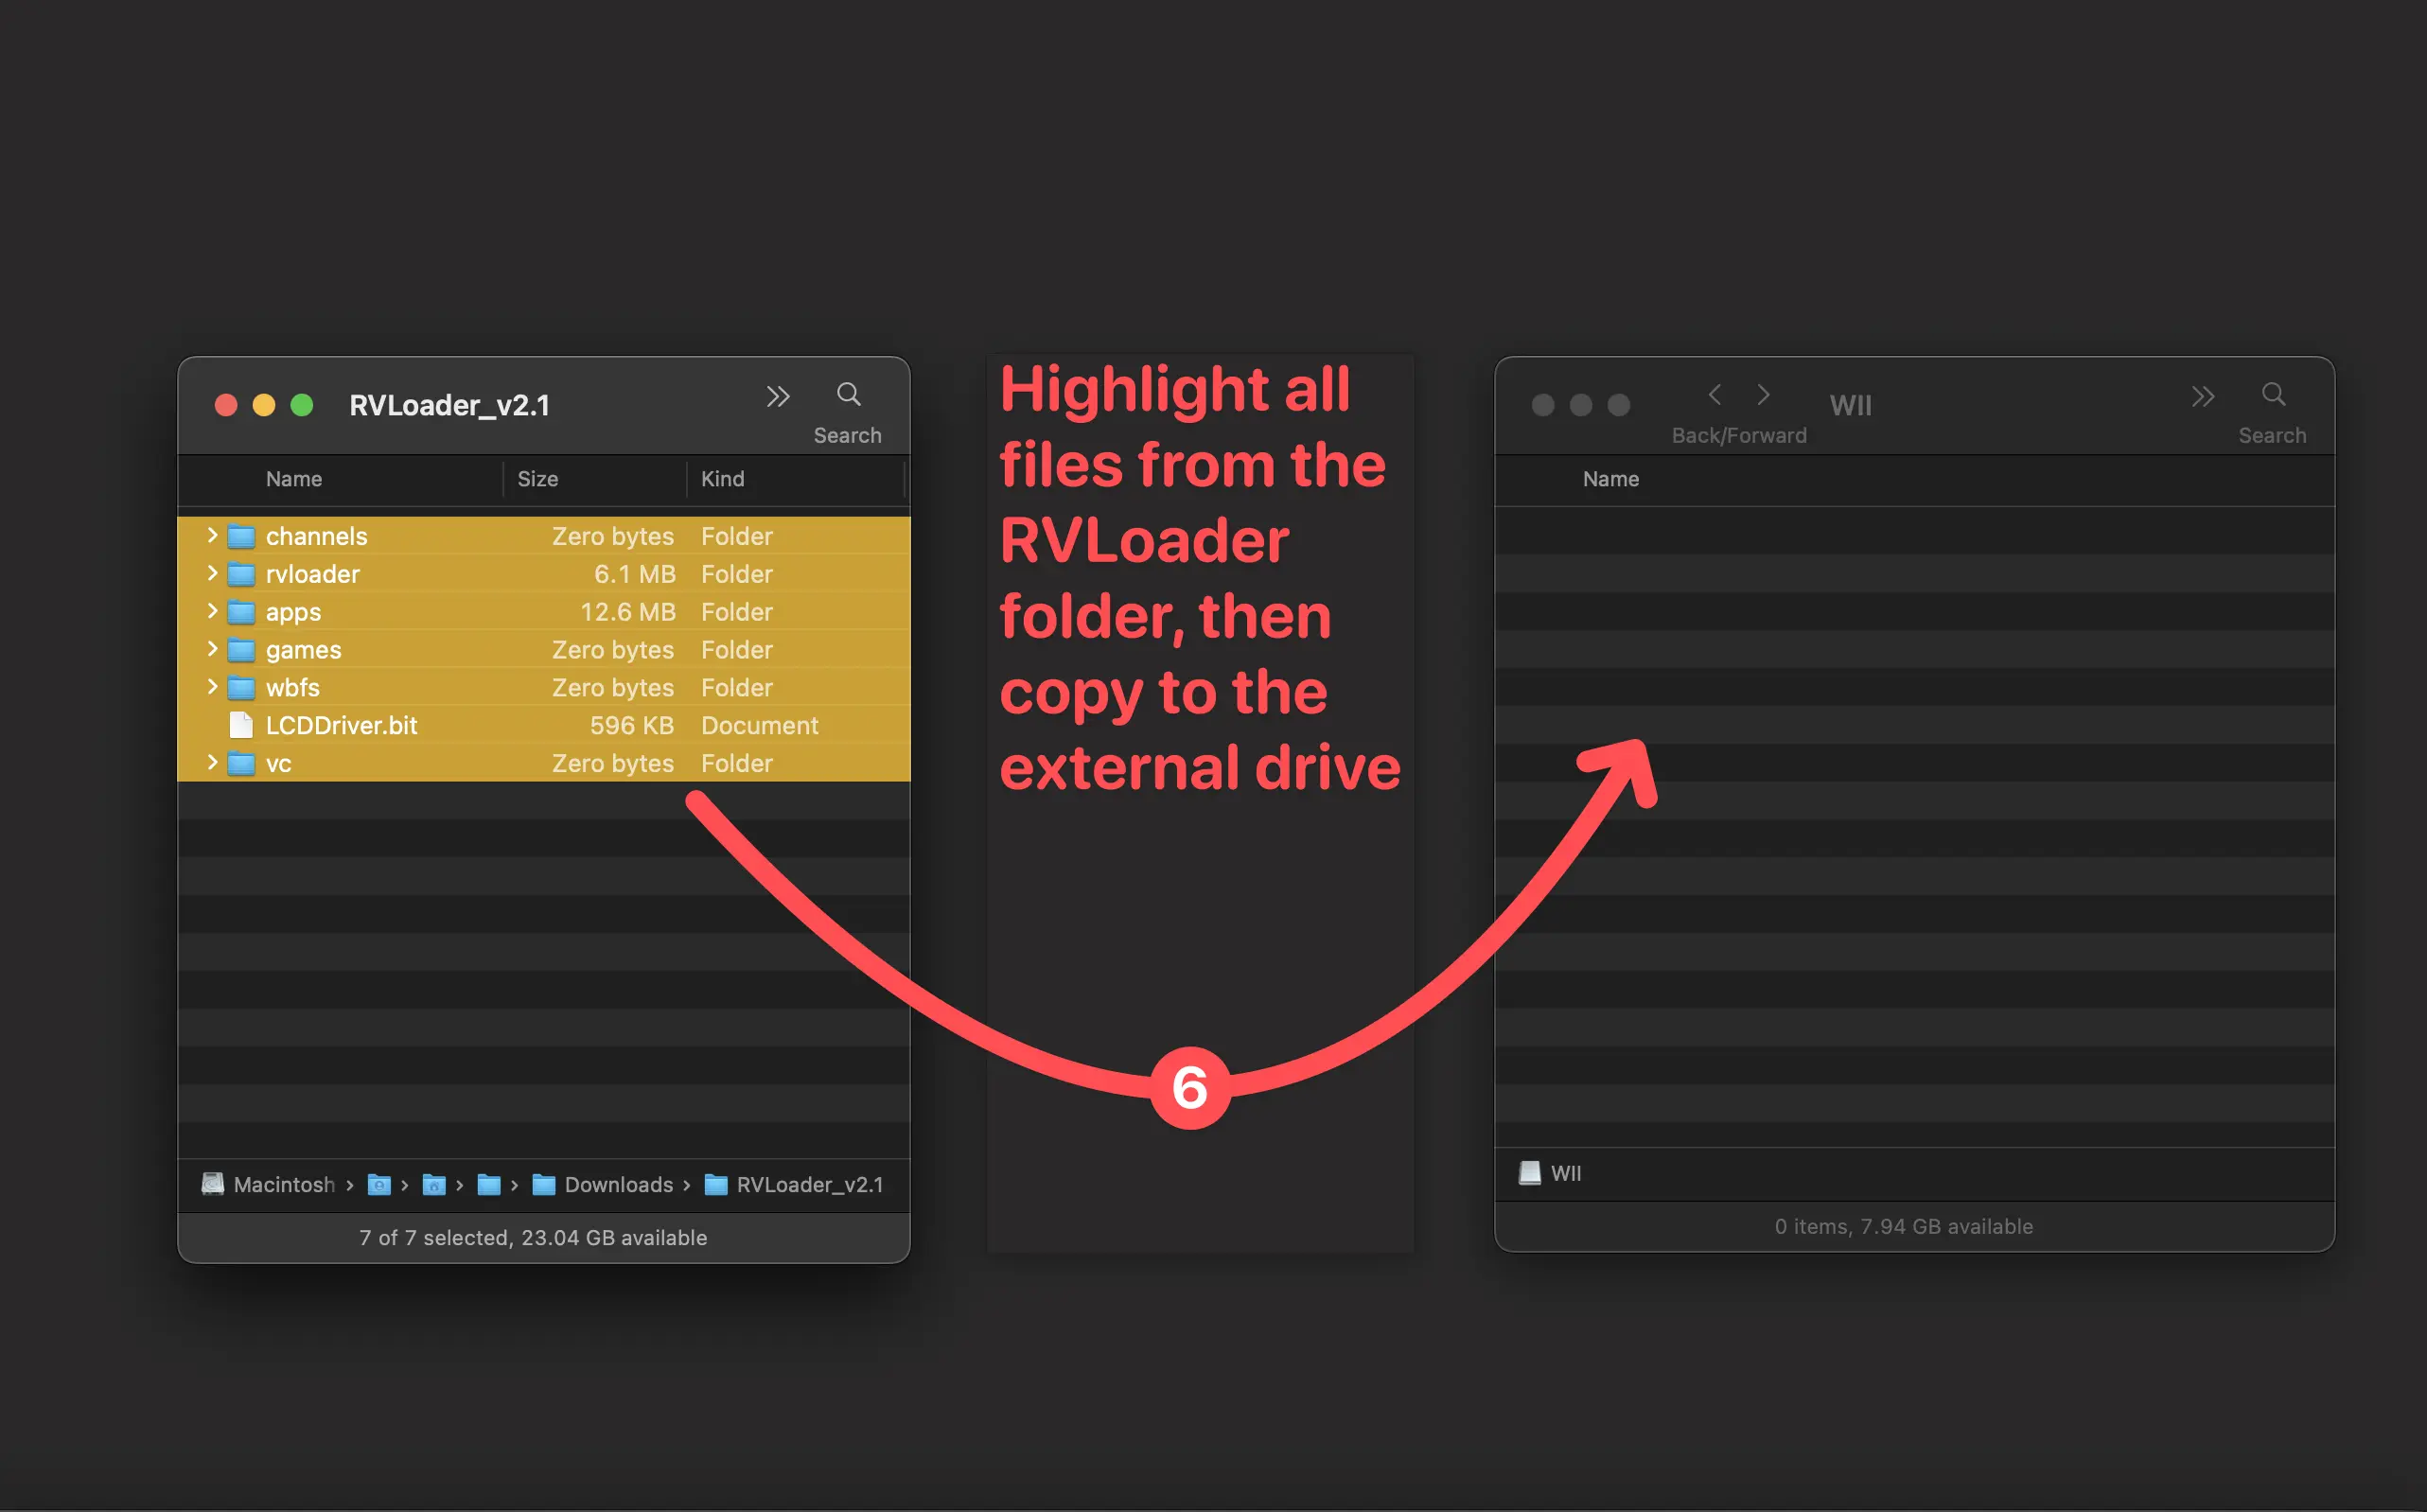
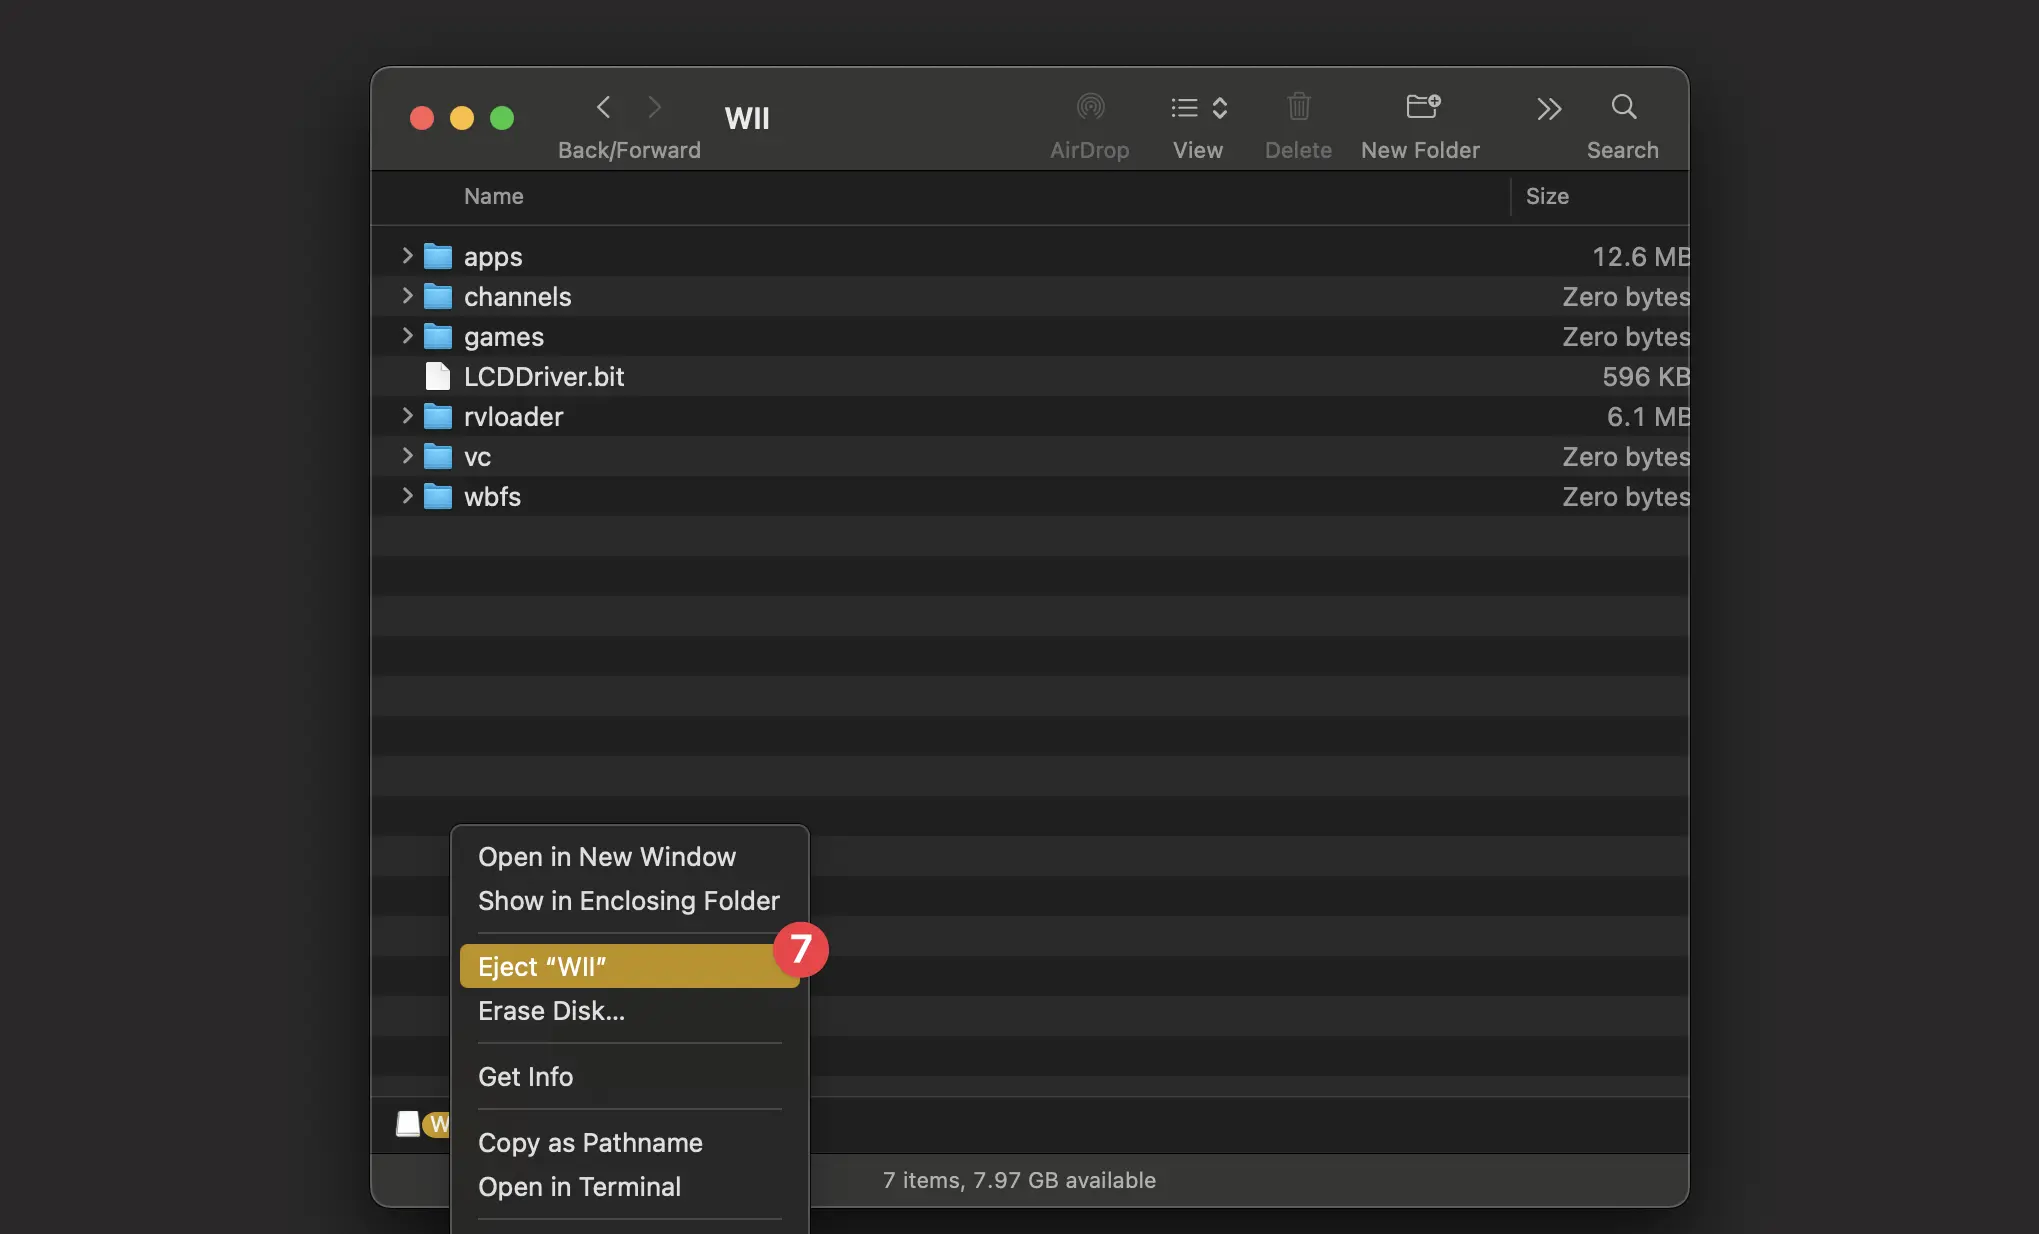
- Insert the MicroSD card into the computer (use a MicroSD to USB adapter if needed). Drag the contents of the
.zipfolder onto the root directory of the MicroSD card.
MicroSD Formatting Notice
The MicroSD card must be formatted as FAT32 in MBR with a 32k cluster size in order to work. Most will come in this format out of the box, however if any issues arise format with GUIFormat on Windows or Disk Utility on MacOS.
- Eject the drive and remove it. Then insert the MicroSD card into the MicroSD to USB adapter and plug it into one of the Wii’s back USB ports.
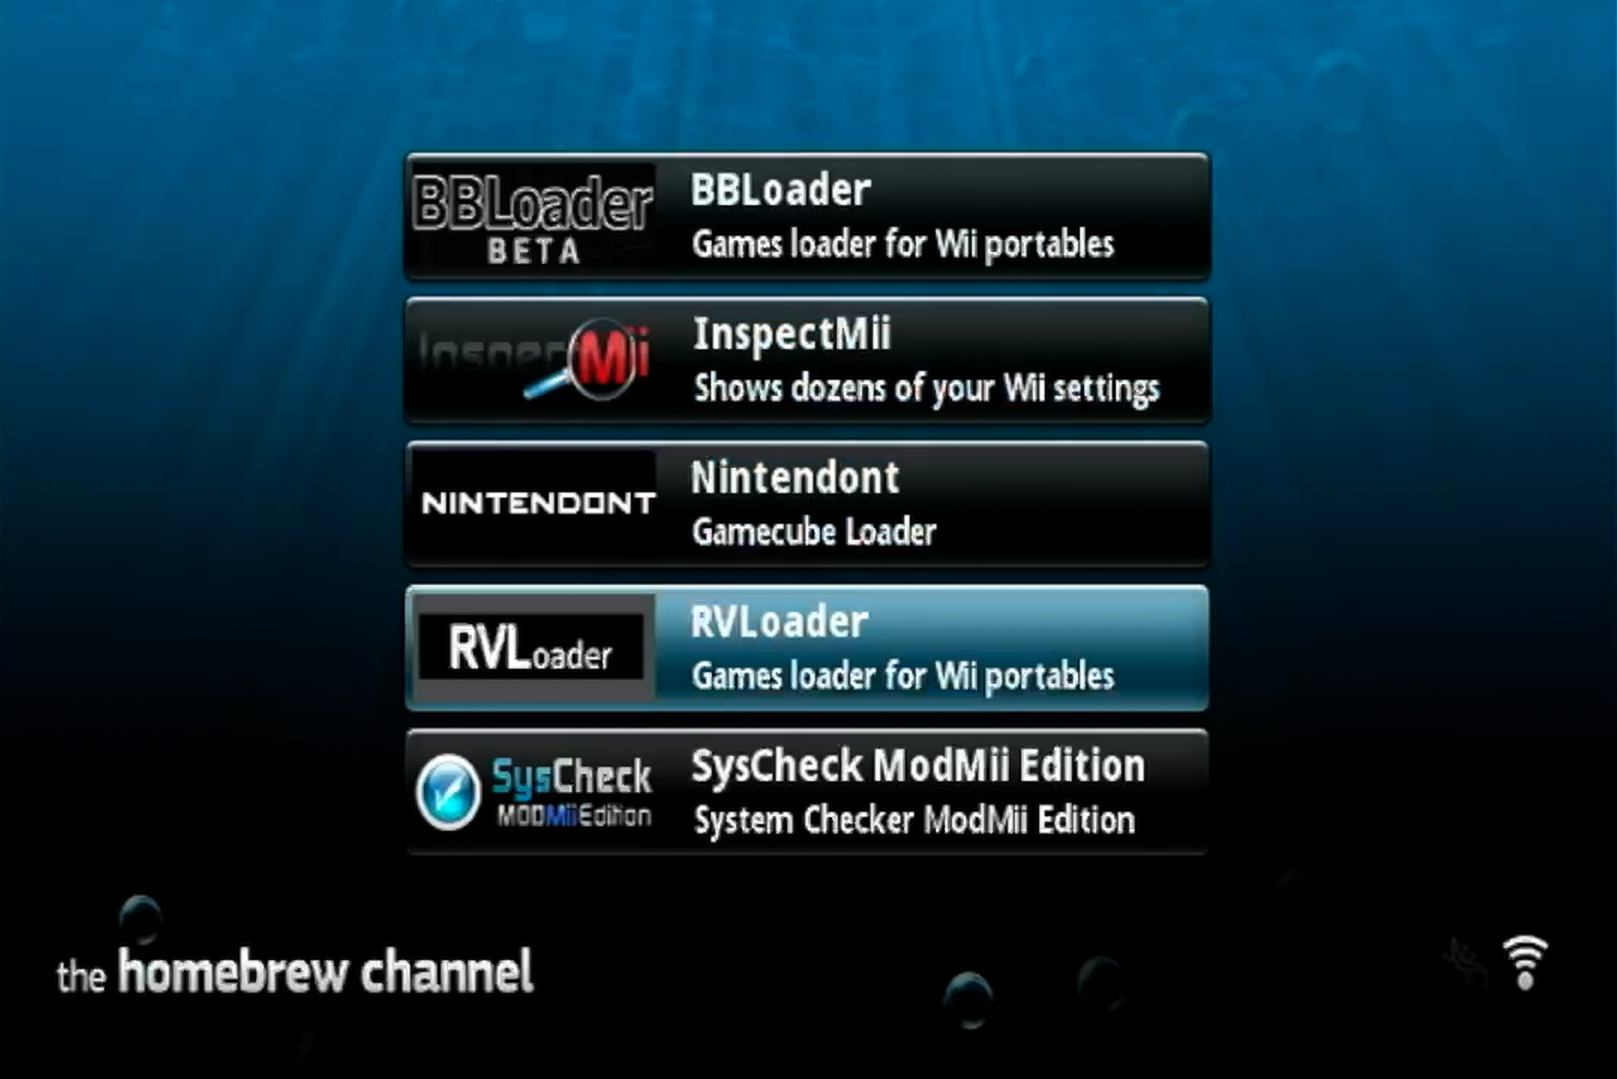
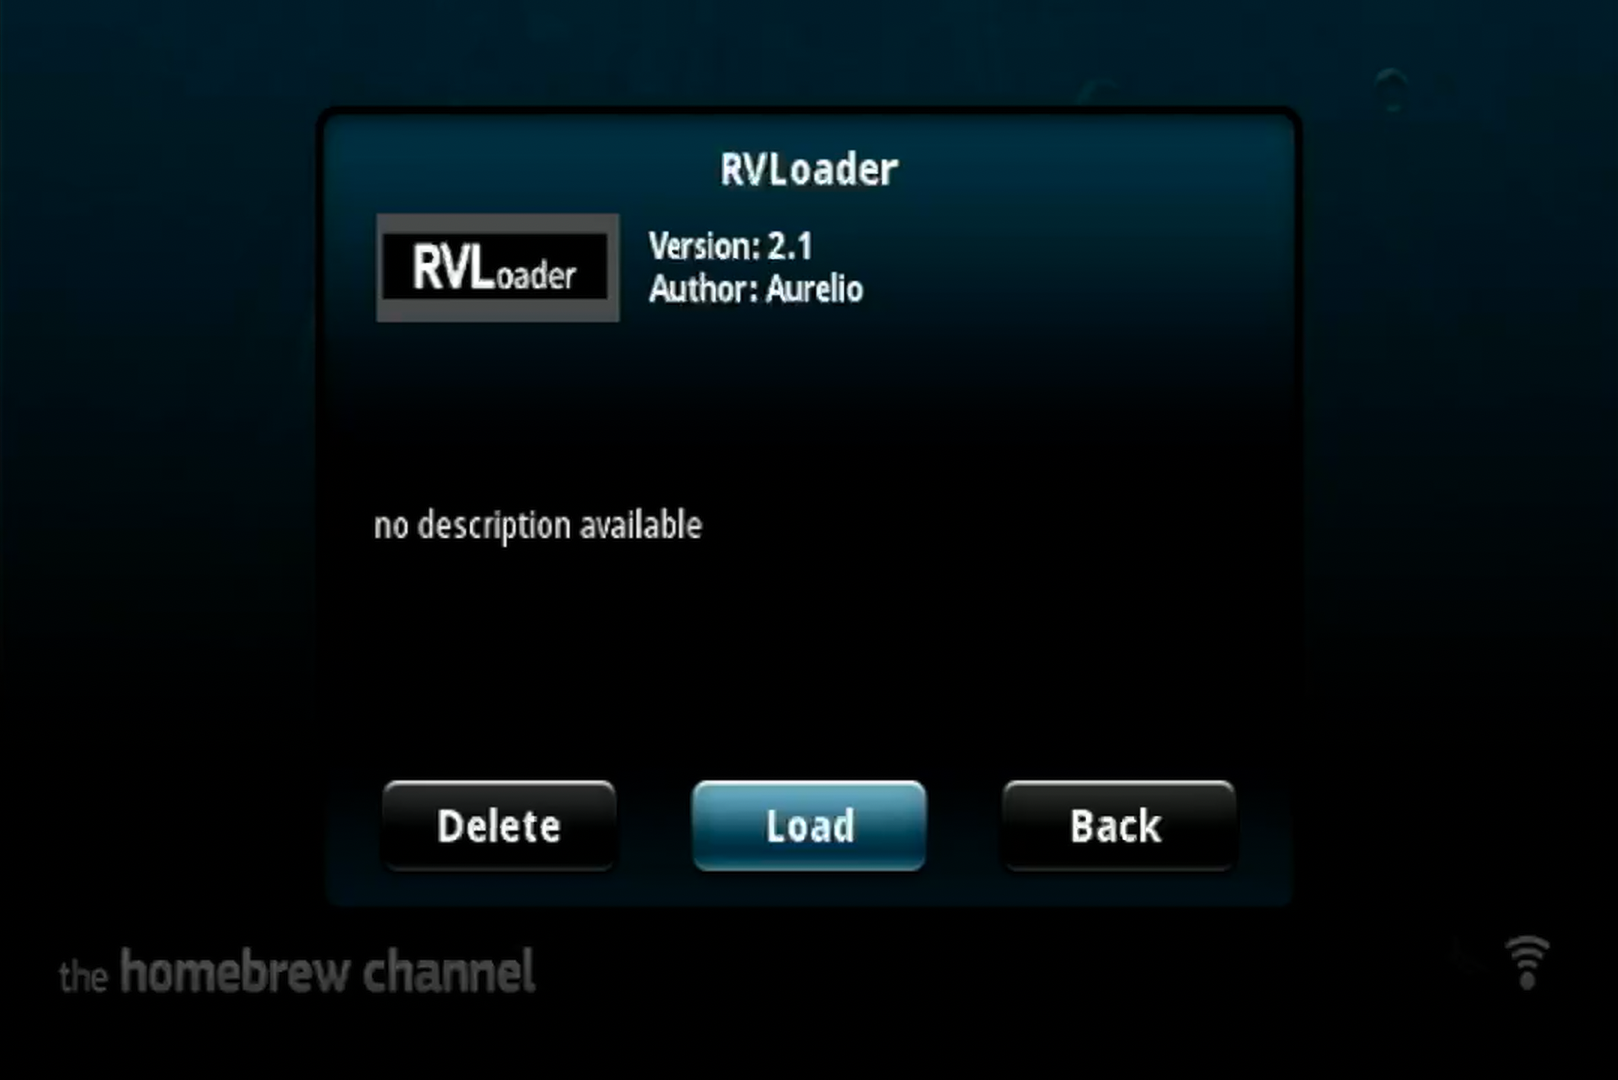
- Power on the Wii and navigate to the Homebrew Channel. Select
RVLoaderfrom the list and boot it by selectingLoad. A screen with the questionRVLoader is not installed. Do you want to run the installer?will be presented. PressAto continue, and set the configuration toPatch out WiFi: YesandEnable VGA: Yes. PressStart/Hometo run the install process.
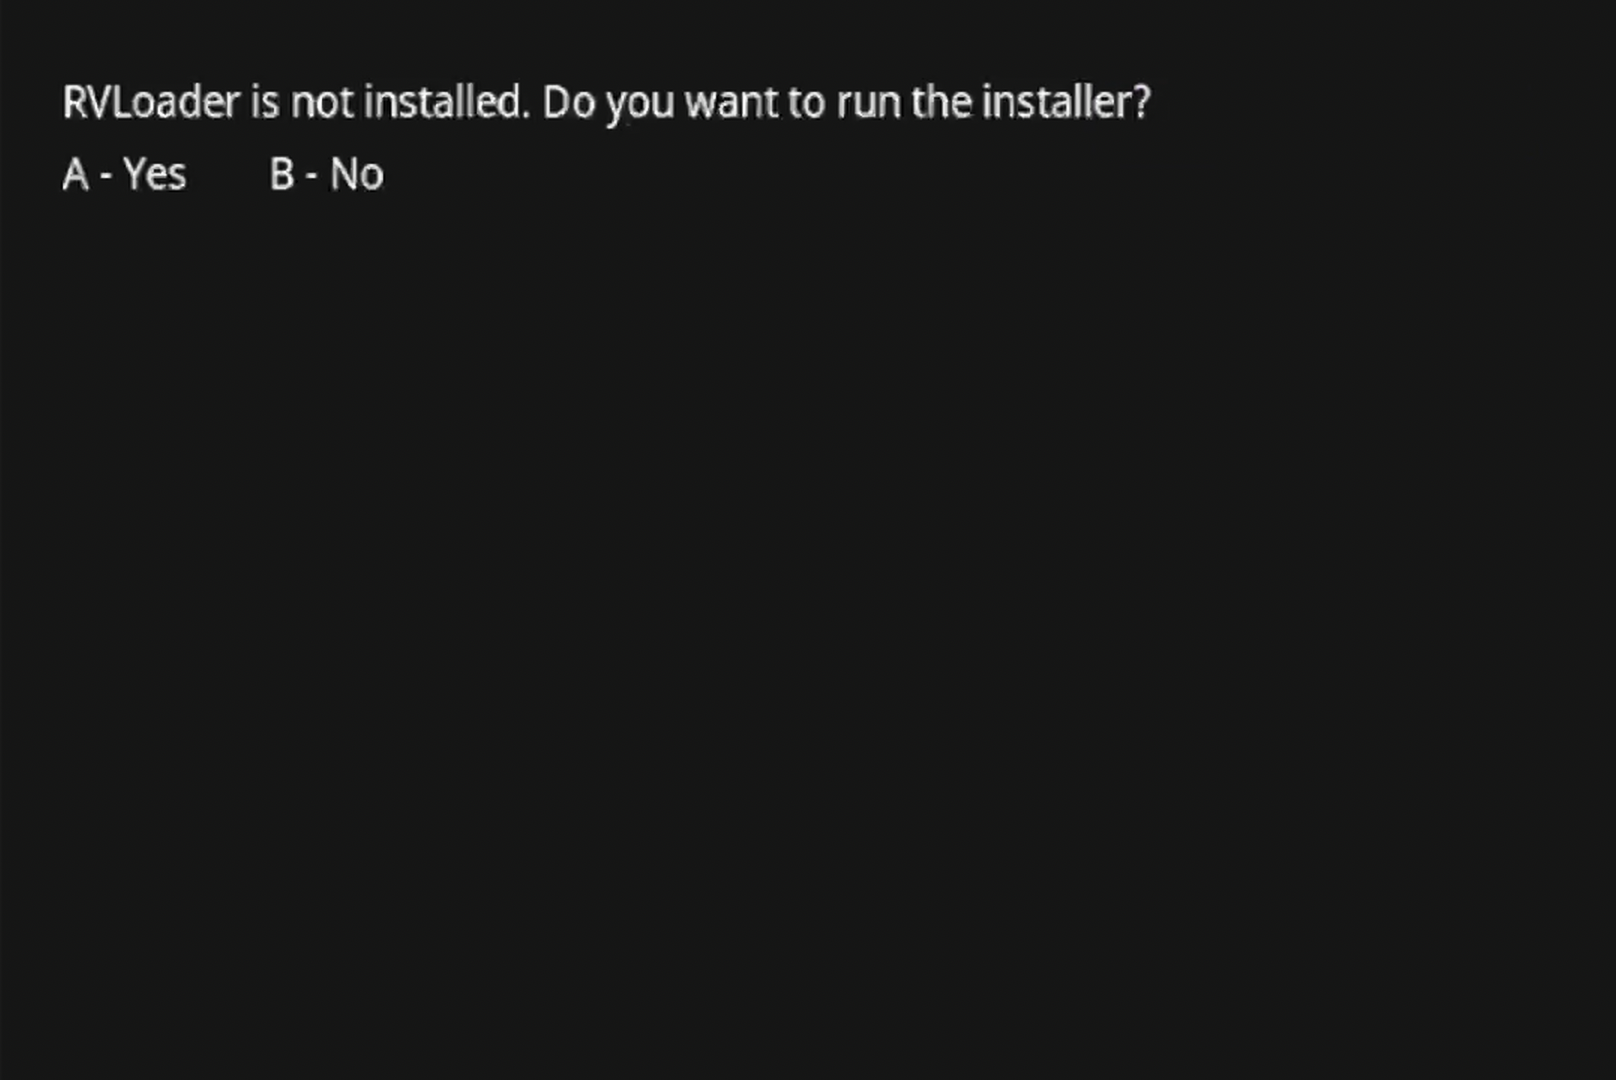
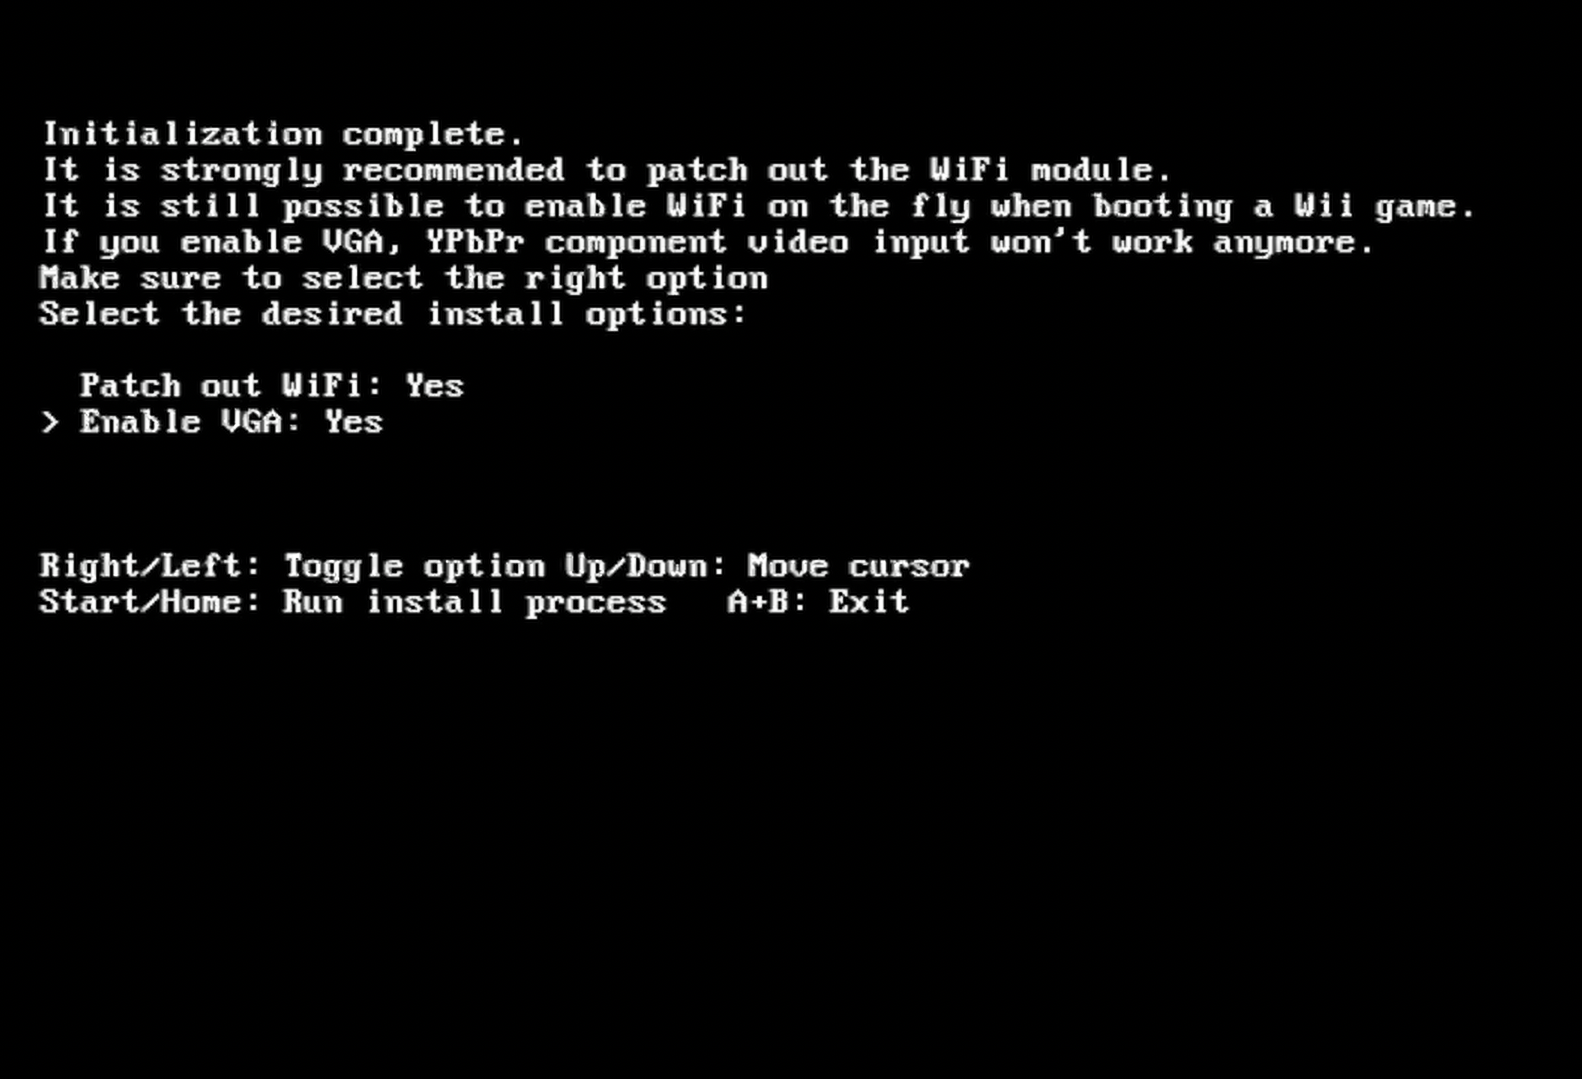
RVLoader is now successfully installed, and the Wii is ready to be disassembled and trimmed. Note that the Wii will now autoboot into the RVLoader menu. To return to the Wii menu, use the C-Stick and hold toward the Wii icon.
Dumping Wii & GameCube Games
Critical Step
Games must be dumped before trimming the Wii, as the Xii-Boy Ultra does not have a disc drive, and games are loaded from the MicroSD card.
Full guides on dumping games can be found on Wii Hacks Guide and Dolphin's website. To access game dumping Homebrew from the RVLoader menu, use the C-Stick to navigate to the Homebrew loader section. Wii games need to be stored as .wbfs files, and GameCube games need to be stored as .iso files. Exact file placement is addressed in RVLoader Setup.
Disassemble the Wii
Follow a standard guide to disassemble the Wii and remove the motherboard. The iFixit guide is highly recommended.
- iFixit Guide: Nintendo Wii Motherboard Replacement