Castellated Module Install
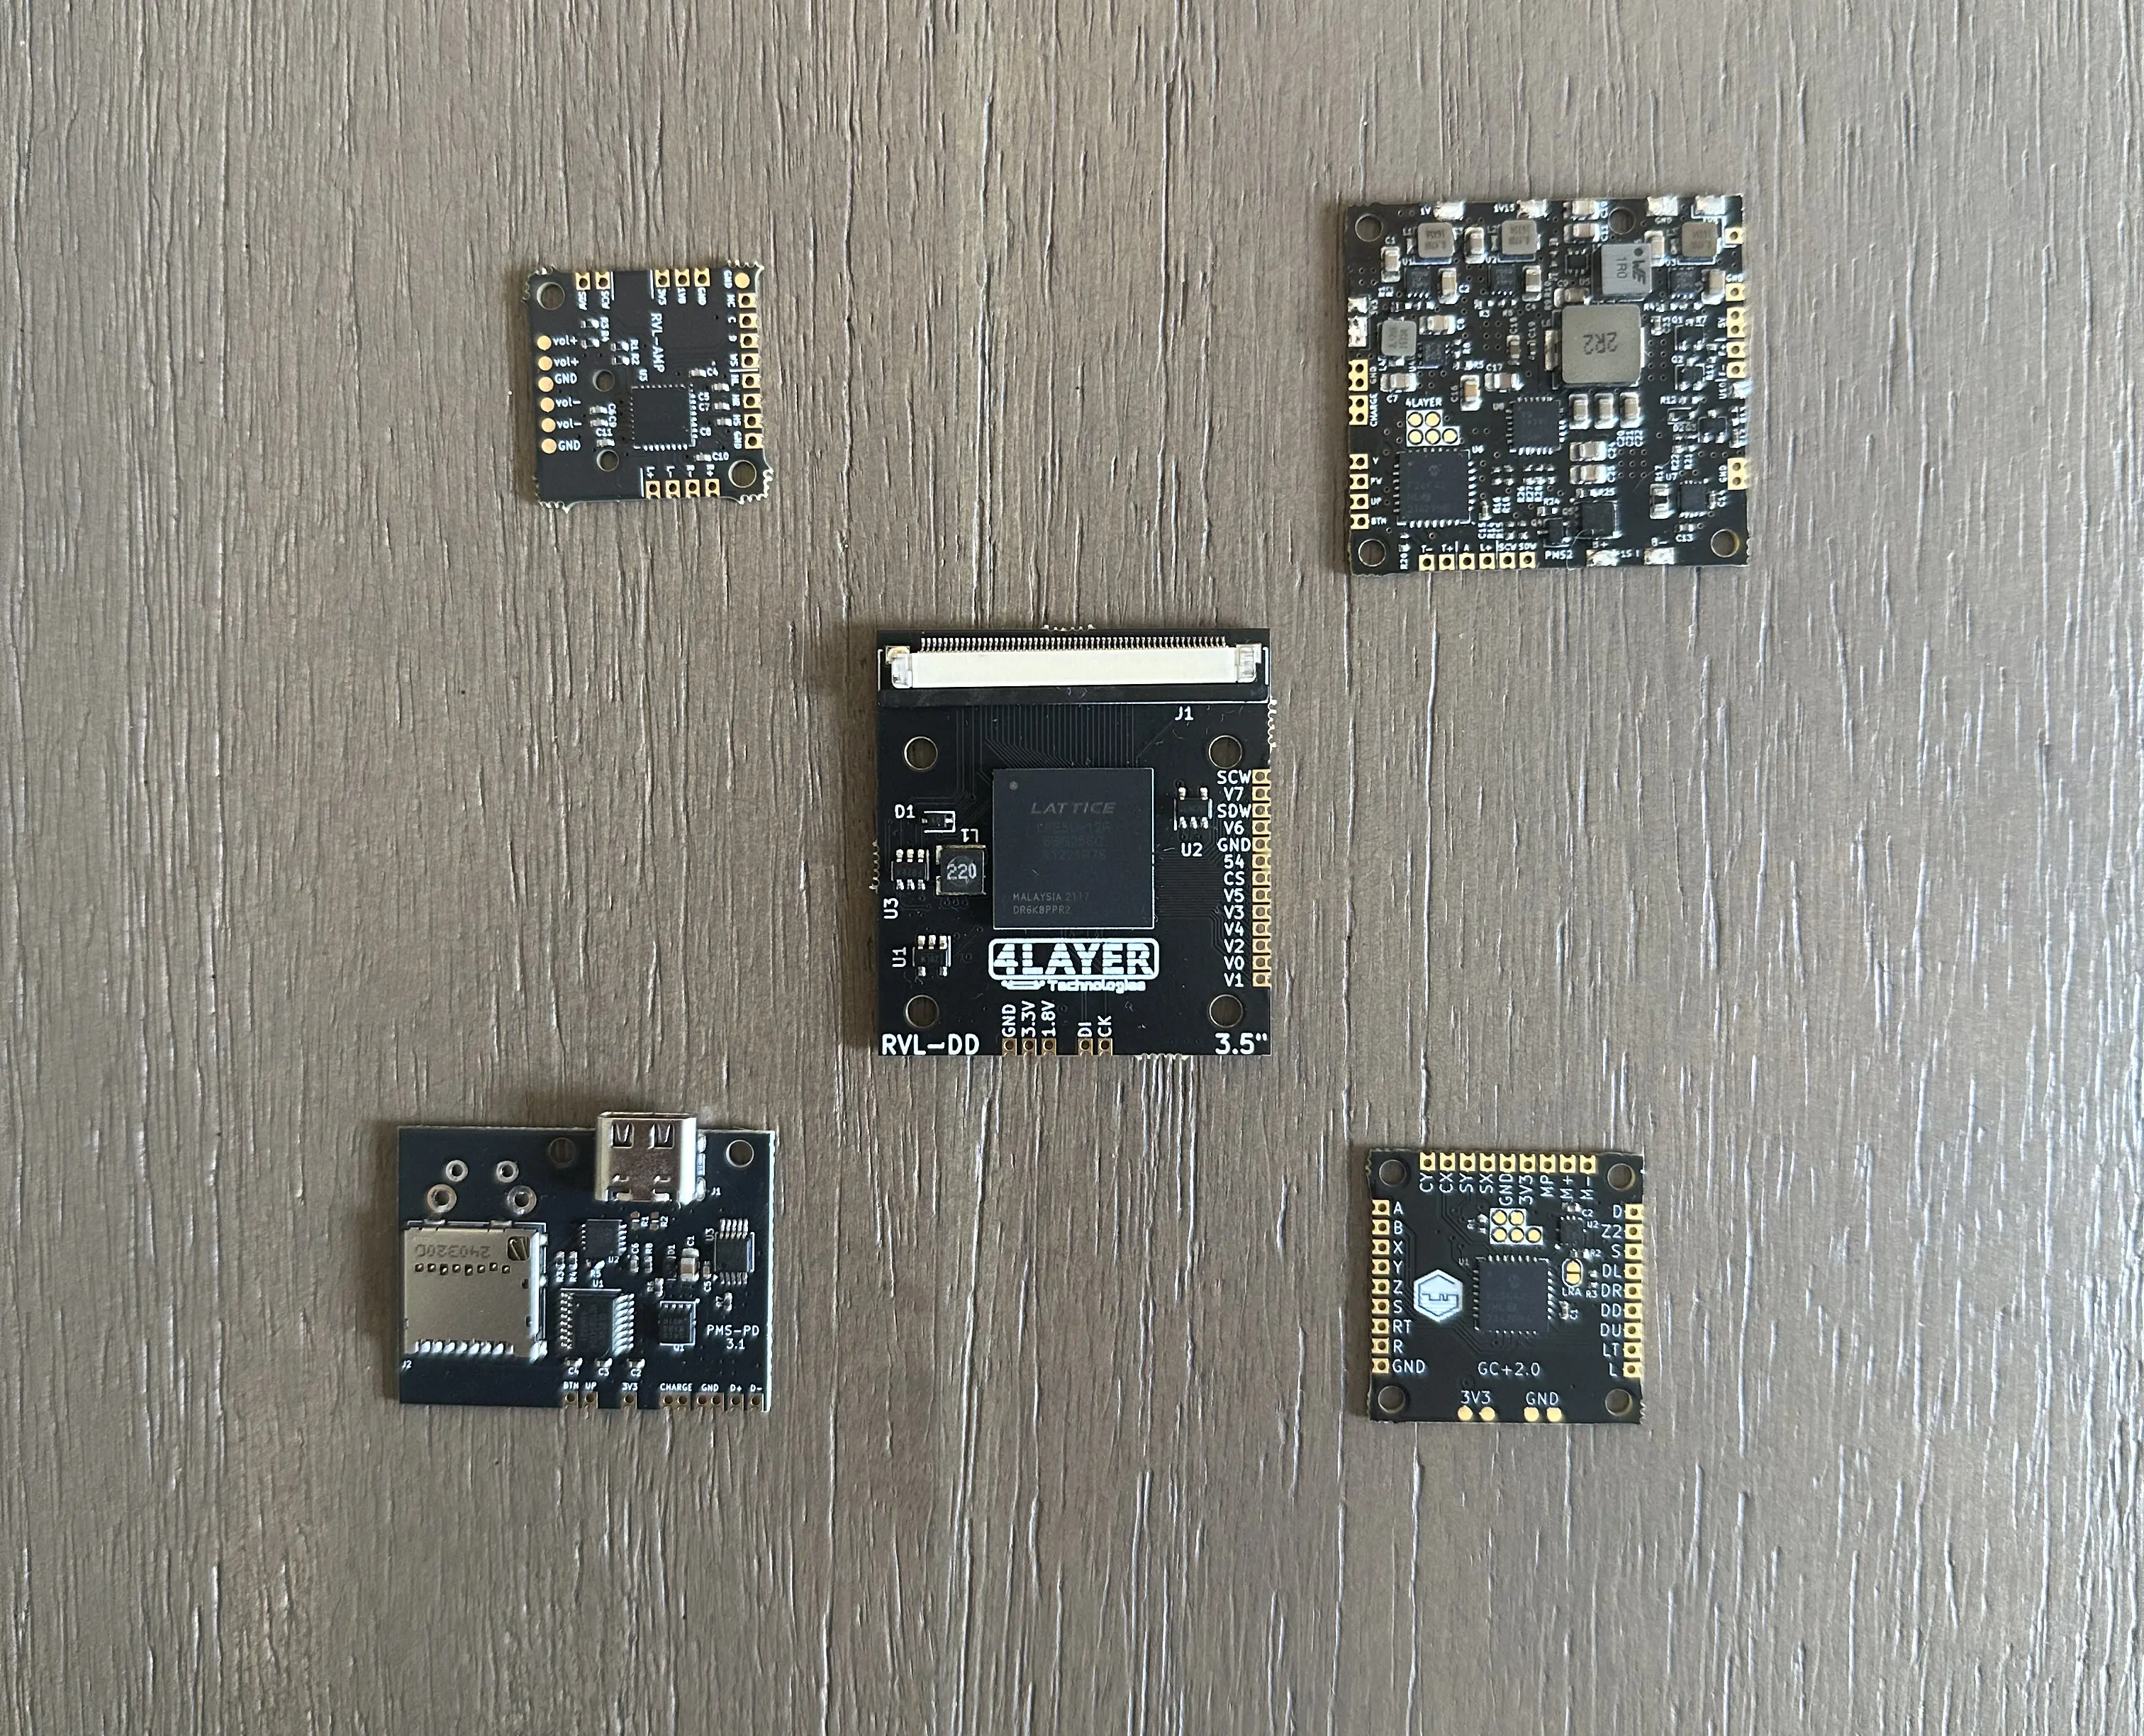
There are five Castellated Modules in the Xii-Boy Ultra, and they function as the backbone of the entire project. The boards power, process and interact with everything from the USB-C port to the batteries and to the display. These boards come separately, and need to be soldered directly to Xii-Boy Ultra's carrier PCBs, which keep the entire project modular and wire-free.
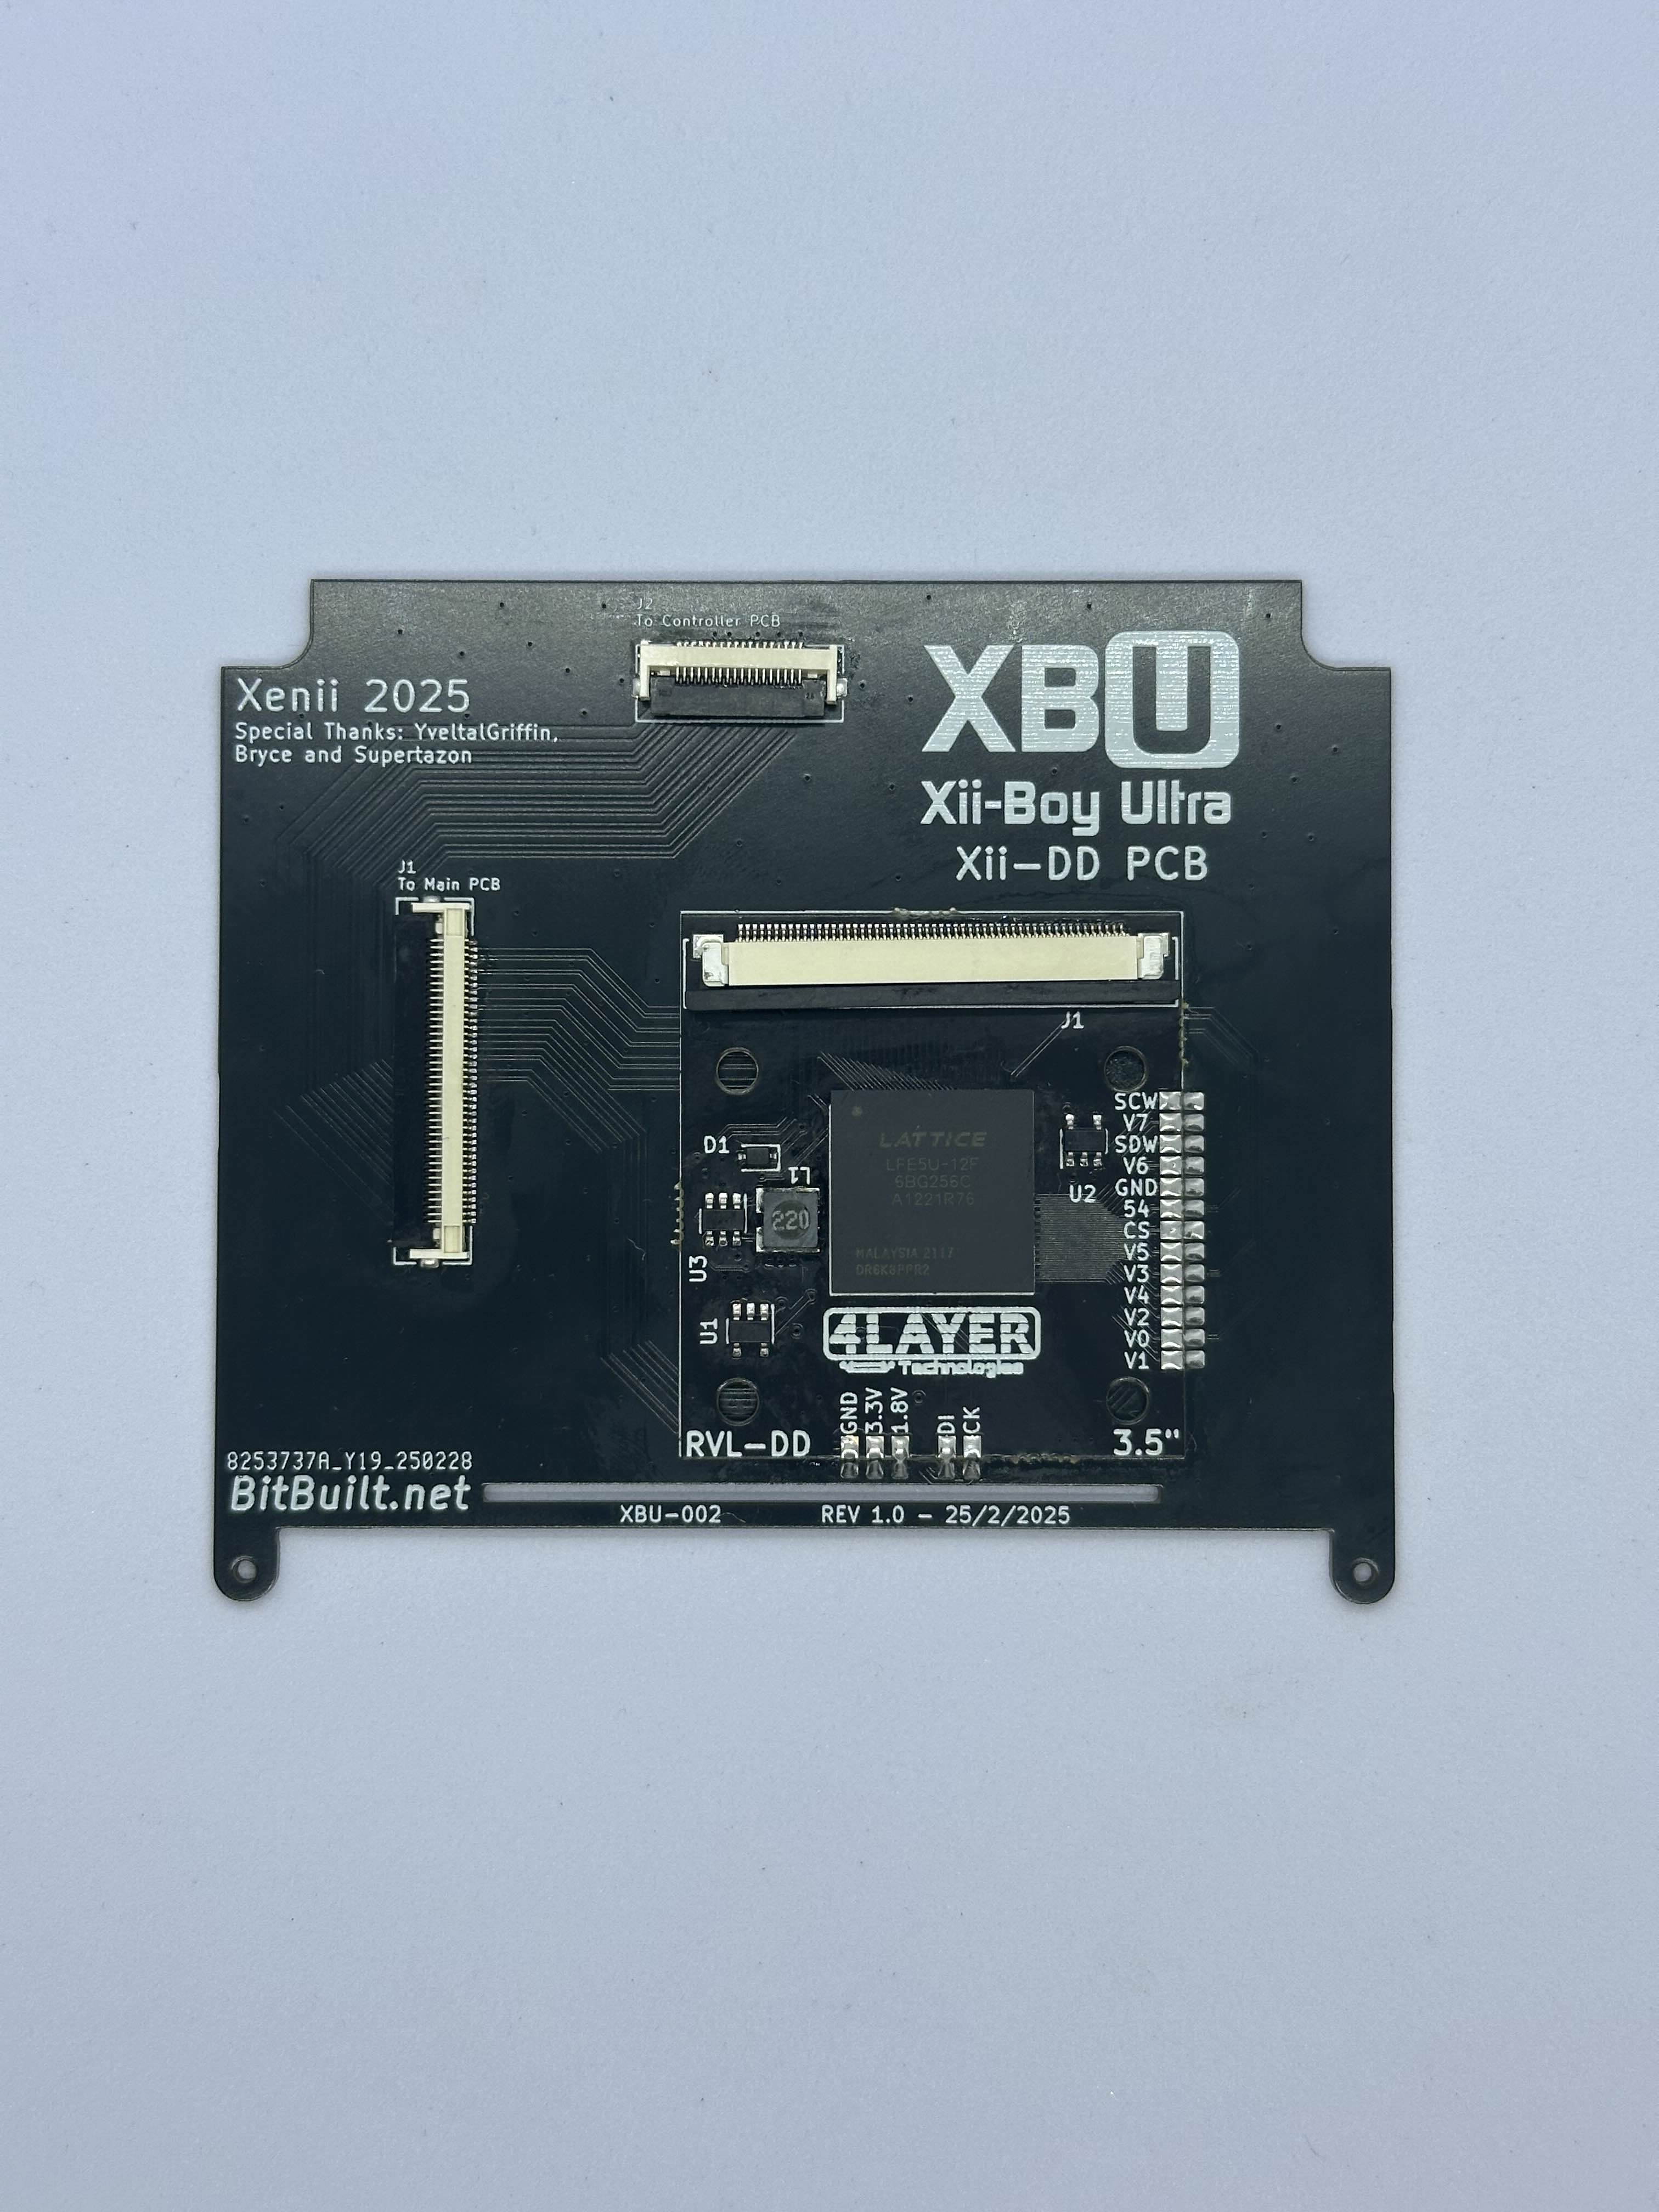
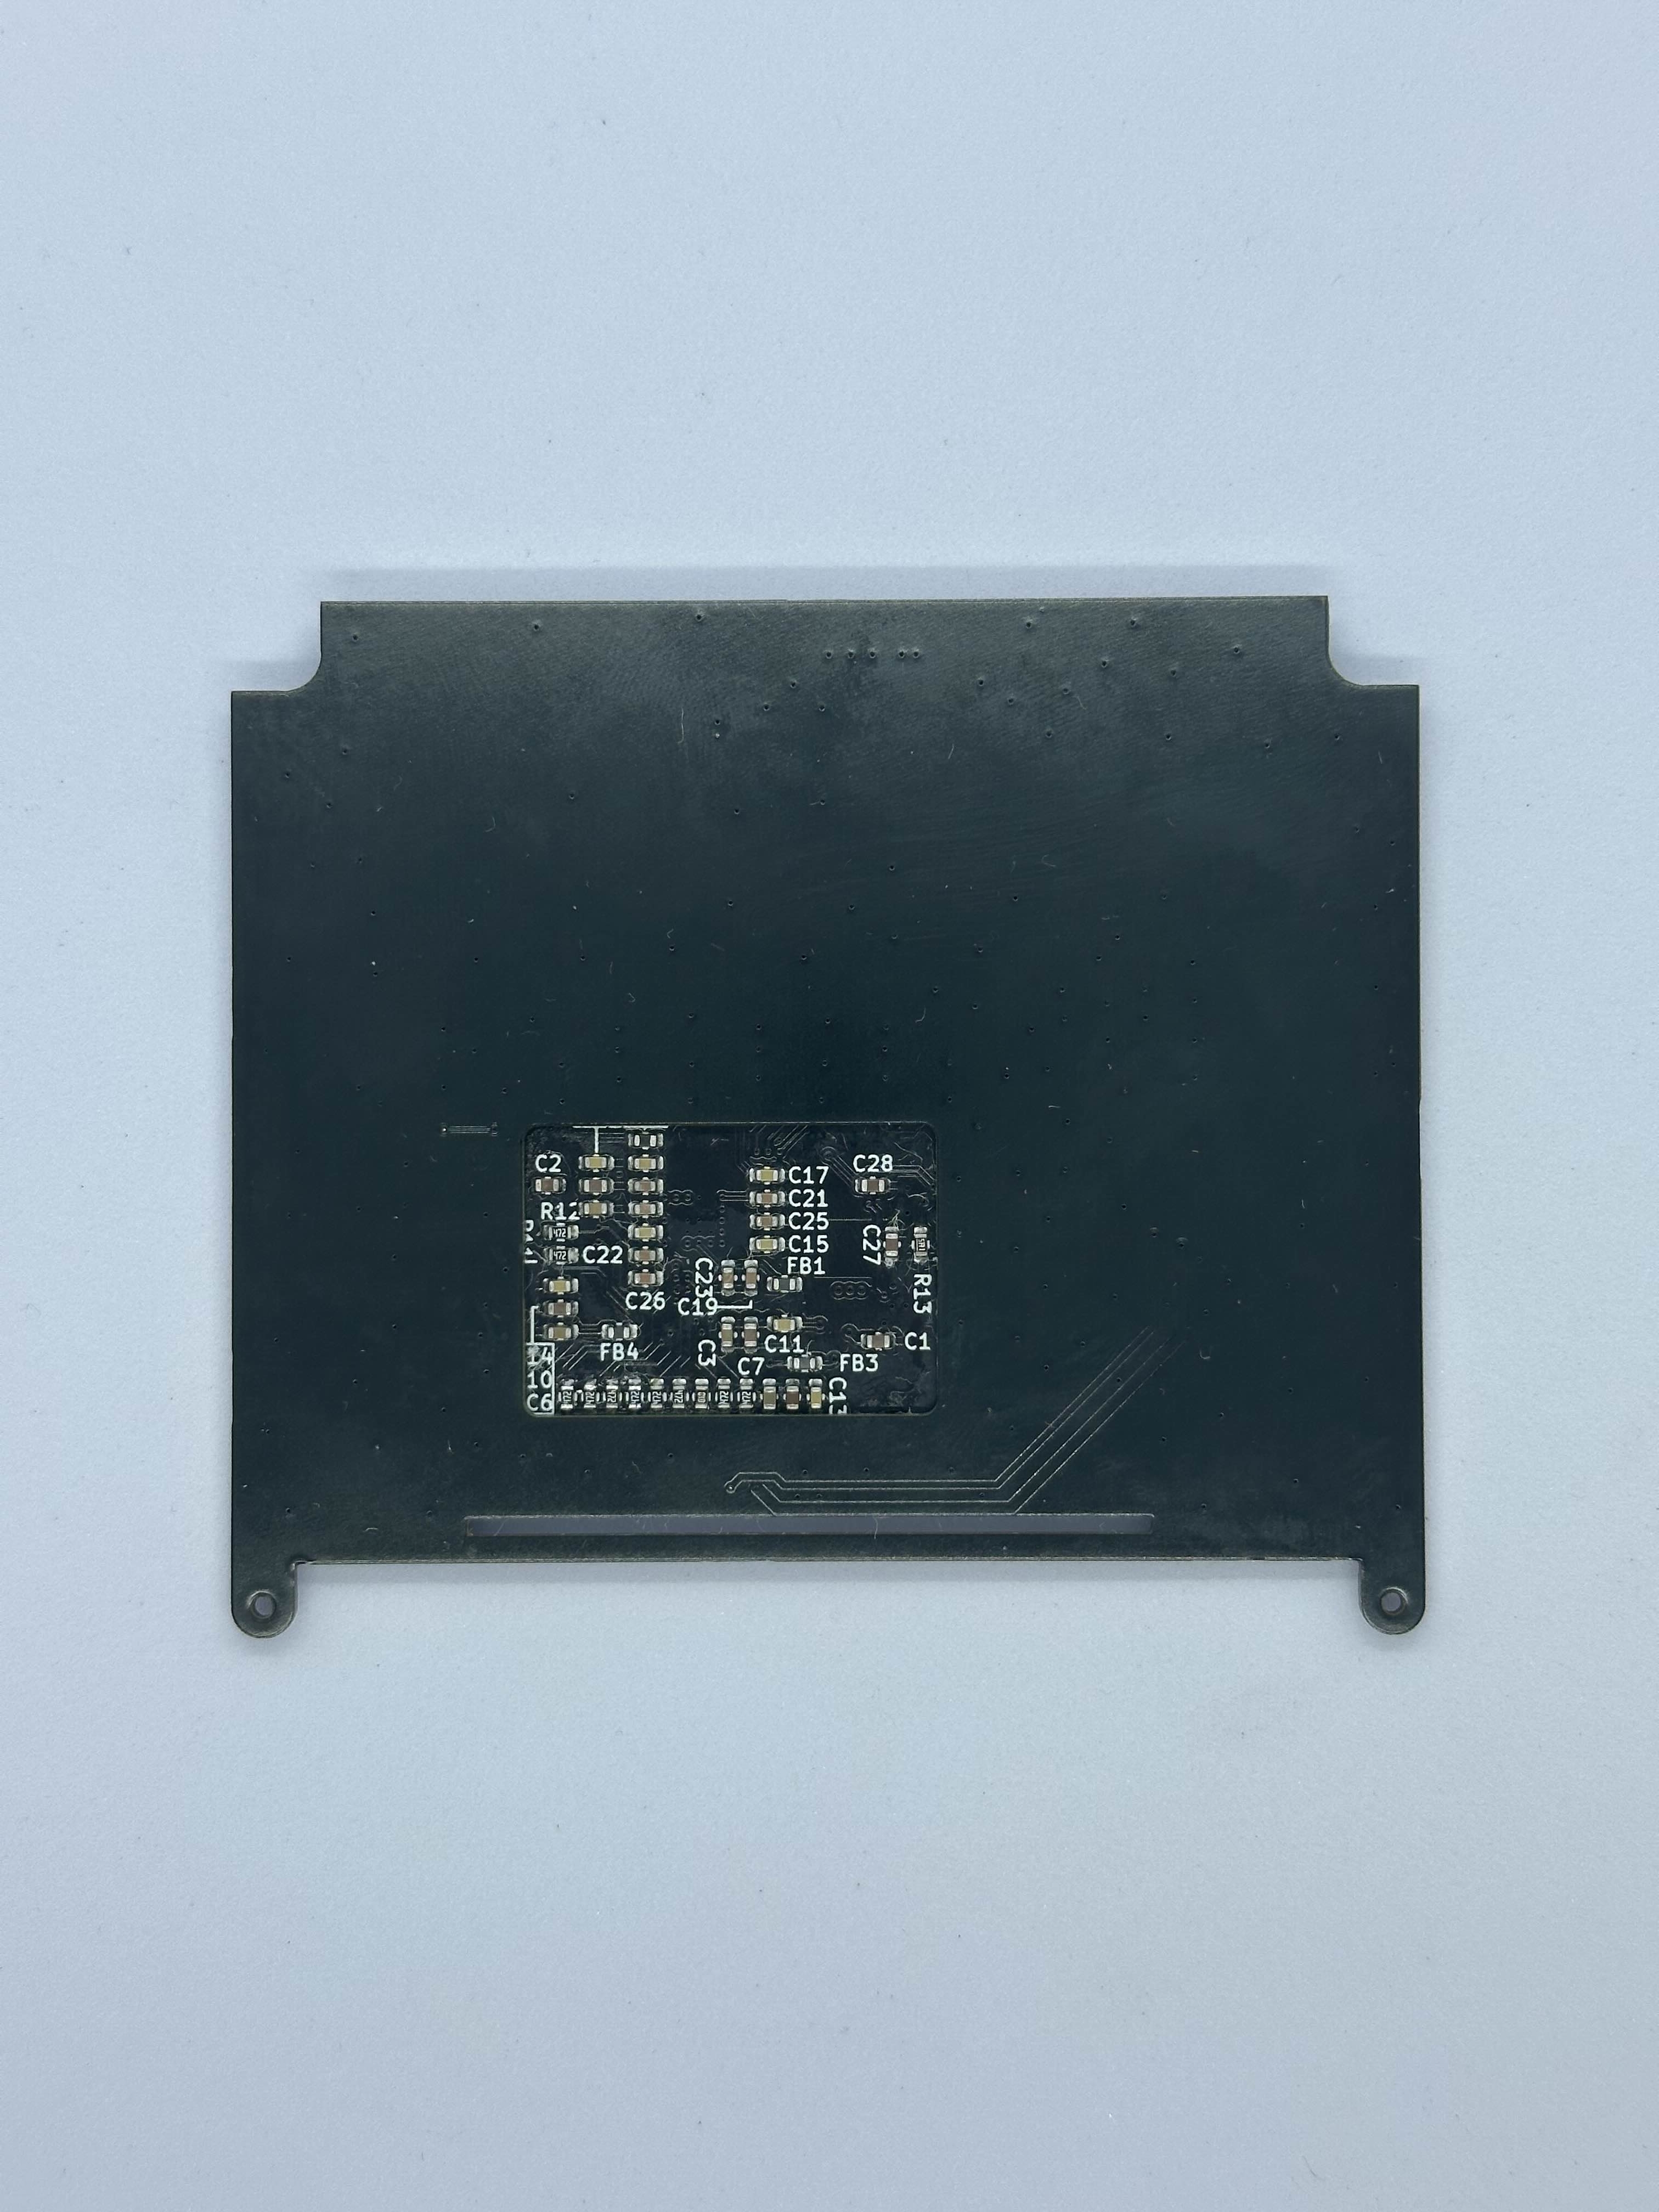
Xii-DD PCB (XBU-002)
- Retrieve the Xii-DD PCB from Bag T2.
Align the Direct Drive module over Xii-DD, ensuring each castellated edge on the Direct Drive module is centered on the pads of Xii-DD.
Refer to General Soldering and begin by applying flux to all pads. Solder pads
SCWon the right, andGNDon the bottom to ensure the Direct Drive module does not move from this point on.Solder the rest of the pads on the bottom side of Xii-DD starting with
3.3Vand finishing withCK. Then solder the pads on the right, starting atV1and working up toV7. Check for shorts before continuing.
Controller PCB (XBU-003)
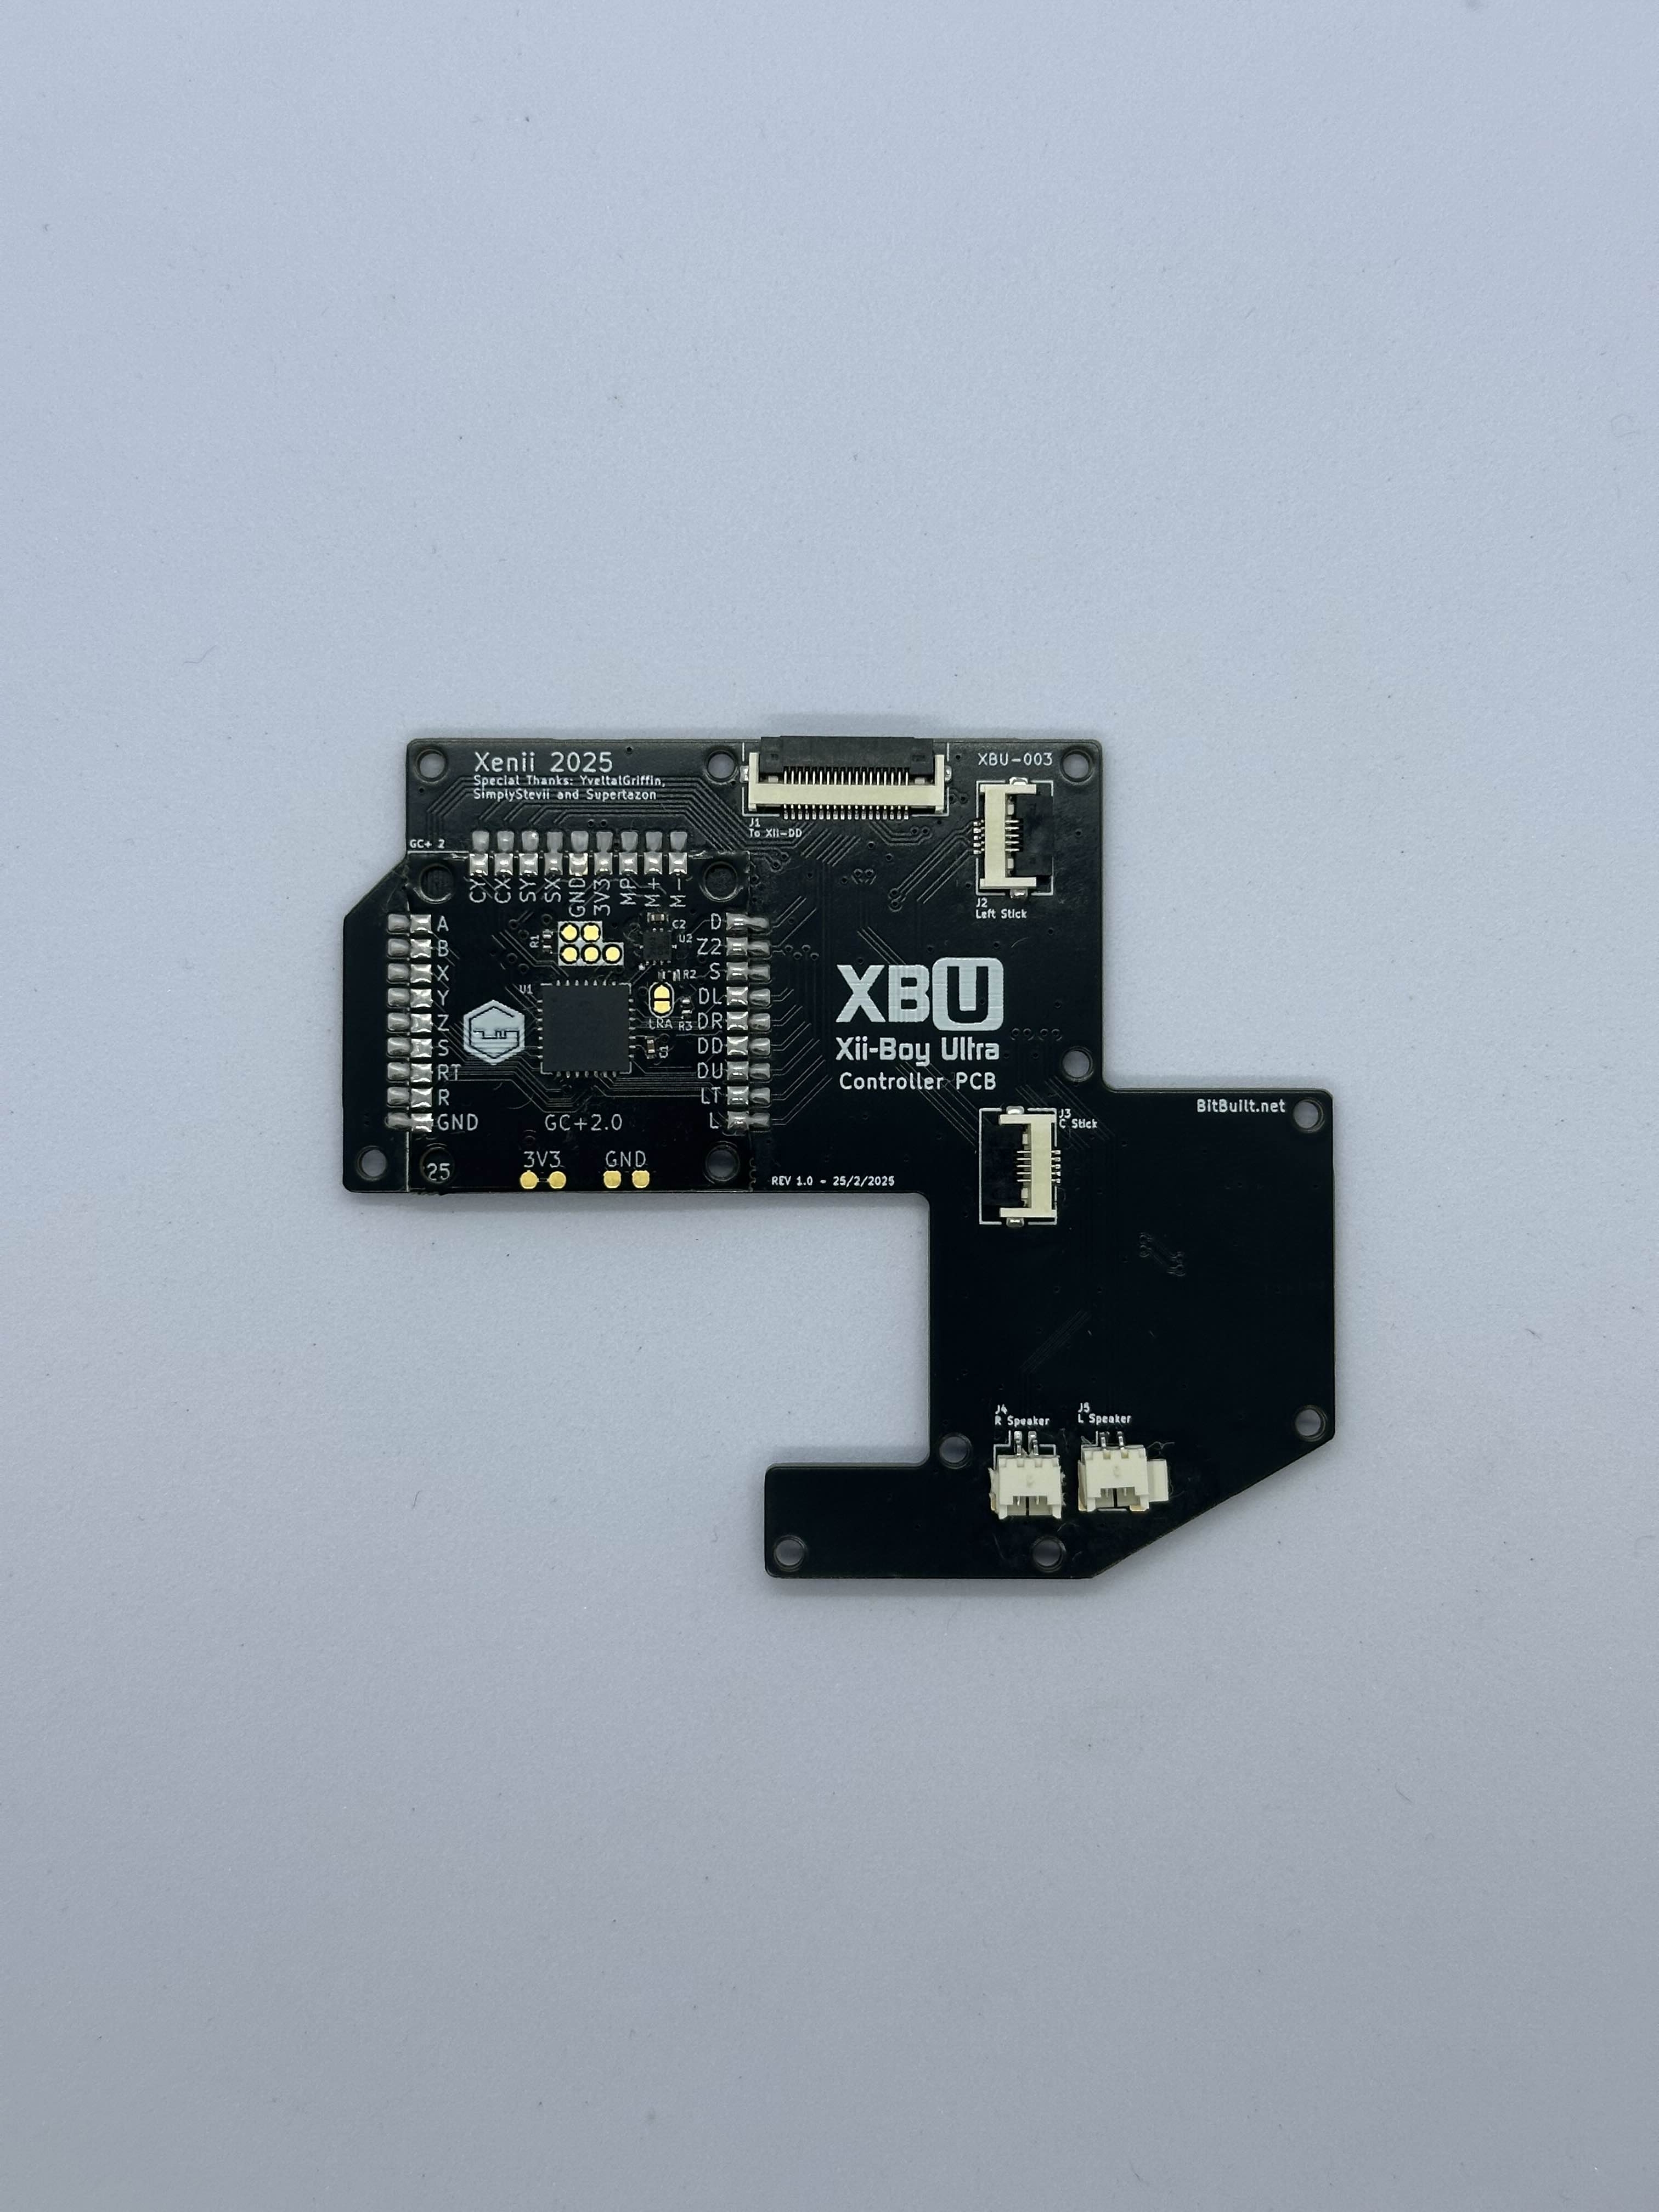
Retrieve the Controller PCB from Bag T4.
Align GC+2.0 over the Controller PCB, ensuring each castellated edge on GC+2.0 is centered on the pads of the Controller PCB.
Refer to General Soldering and begin by applying flux to all pads and soldering pad
Aon the left, andM-on the top to ensure GC+2.0 does not move from this point on.Solder the rest of the pads on the left side of the Controller PCB starting with
Band finishing withGND. Then solder the pads on the top, starting atM+and working over toCY. Finally, solder the right side pads starting withLand working up toD. Check for shorts before continuing.
Main PCB (XBU-001)
Retrieve the Main PCB from Bag B5.
Align each Castellated Module over the Main PCB, ensuring each castellated edge is centered on the pads of the Main PCB.
Refer to General Soldering and begin by applying flux to all pads and soldering two securing pads on each Castellated Module to keep it in place.
Solder the rest of the pads sequentially, following the direction your soldering iron is leaning. Check for shorts before continuing.